Documentation
Nodal VPN
Getting Started with Nodal VPNSigning up for Nodal VPN
Deploying Nodal Agent on Proxmox
Deploying Nodal Agent on VMware ESXi
Deploying Nodal Agent on Hyper-V
Creating a VPN Network
Nodal VPN Client Configuration
Installing the Windows VPN client
Connecting the Nodal VPN Client
Setting a static IP on the Nodal Agent
Password Express
Getting Started with Password ExpressSigning up for Password Express
Installing Windows Connect
Performing a Password Reset
Configuring Authentication Policies for Password Reset
Enrolling a User
Secure File Exchange
Installing on WindowsInstalling on Linux
Installing an SSL Certificate
Uninstalling (All Platforms)
Virtual File System
Browsing Files
Sharing Files
Upload Forms
Incoming Files
Sharing Shortcodes
File Systems
Mounting External FilesLocal Files
Plan Storage
SFTP Folders
Windows Shares
S3 Buckets
Goggle Cloud Storage
Azure Containers
Server Management
Installing the Windows Credentials ProviderUser Accounts
Roles
Authorized Keys
Event Logs
Email Messages
HTML templates
Session Management
Authentication Modules
Authentication Policies
SMTP Configuration
User Interface
BrandingUser Interface Themes
Creating a VPN Network
Once you have a Nodal Agent connected to your tenant, you can now define a VPN Network. If you don’t have a Nodal Agent yet, you should first deploy one.
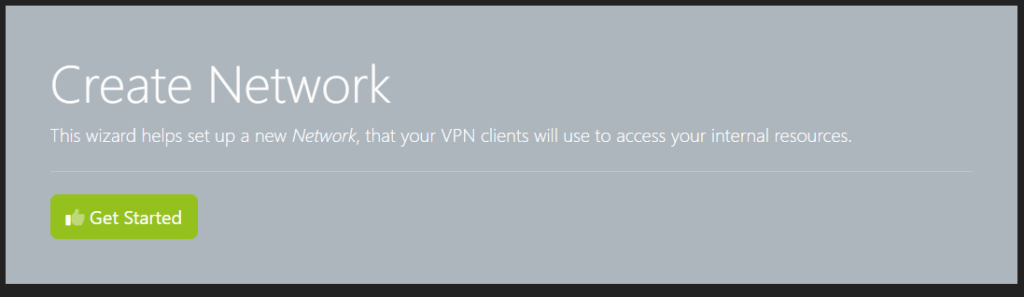
1. Create Network Wizard
Navigate to Resources->Networks and click Create. This will start the Create Network Wizard. Click Get Started.
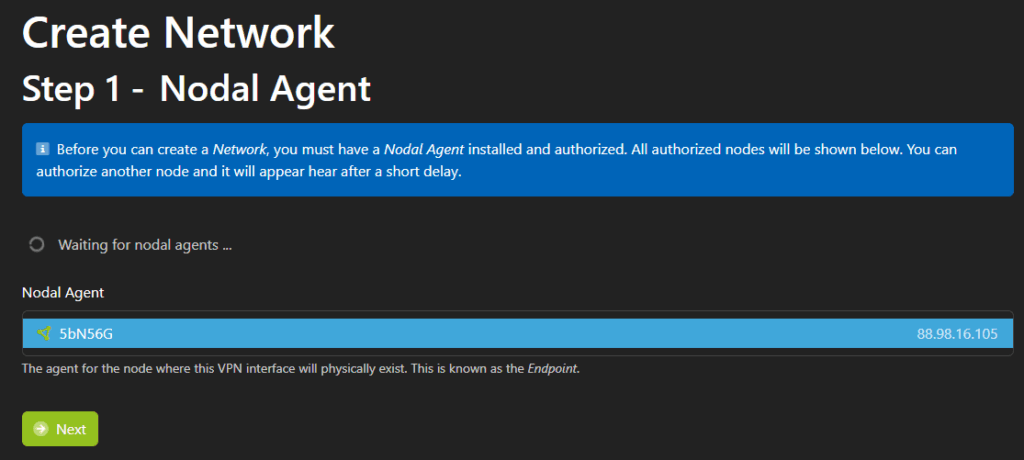
You should already see your Nodal Agent in the list below, but this page will continually poll for any new agents that may connect in the meantime.
If you have a single agent, this will already be selected. If you have multiple agents, select the one you want to associate with this network, then click Next.
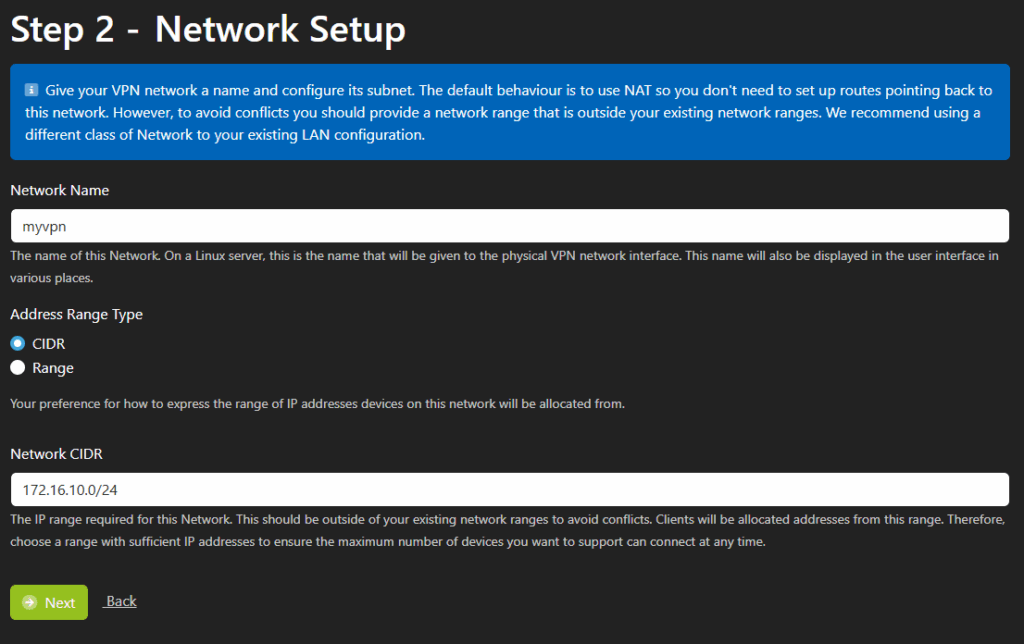
2. Network Setup
Give the new network a name and set a network address range for your VPN clients. You can choose to either enter a CIDR range, or a start and end IP address.
Click Next.
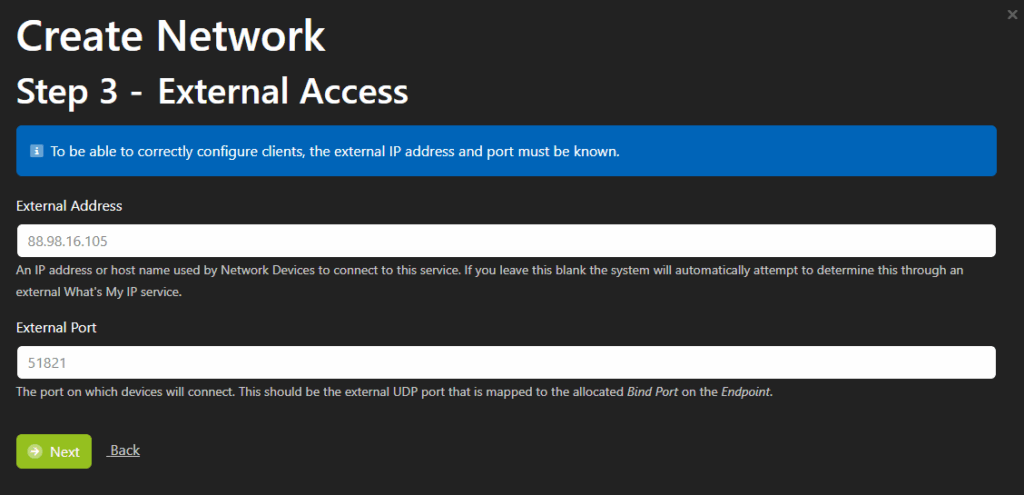
3. External Access
The wizard should now in most cases auto detect your external IP address, which will be used by your clients to connect in to your network. If this is incorrect, enter the correct external address here.
Regarding the external port, accepting the default 51820 is usually okay, but if you have more than one network configured for a node, this number should increment automatically. Click Next to continue.
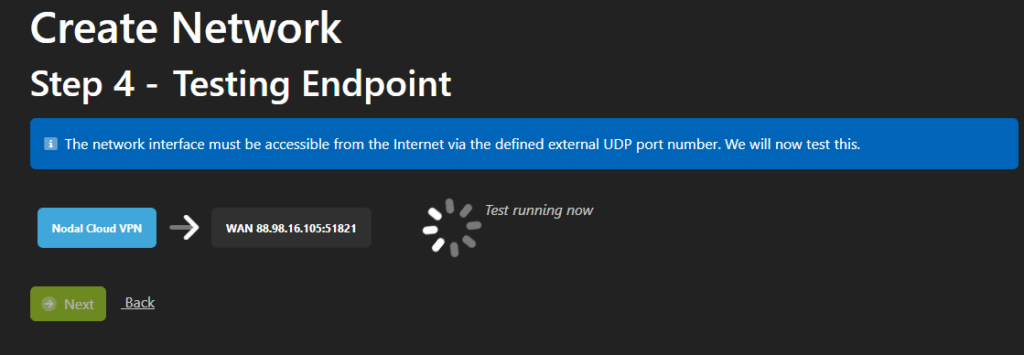
4.Testing
One of the most common setup issues with the VPN is not having the UDP port forwarded to your Nodal Agent. Therefore this next step performs a test to ensure that packets reach your agent.
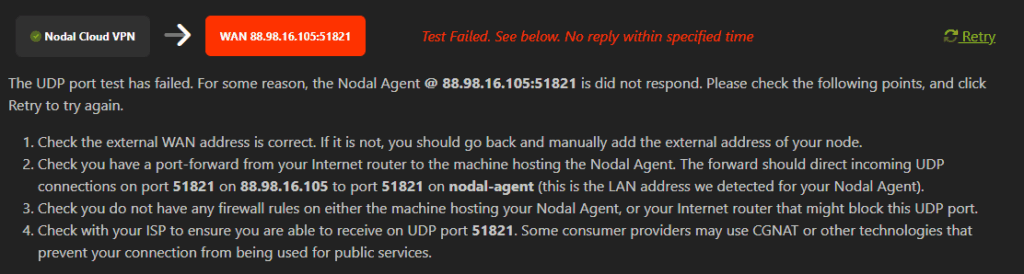
If the test fails, you see a screen as below. Correct the port forwarding issue and click Retry to test again.
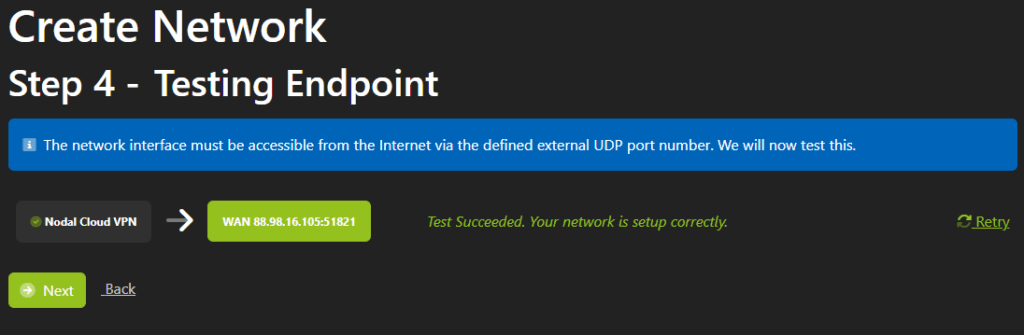
When the test succeeds you can now continue, click Next.
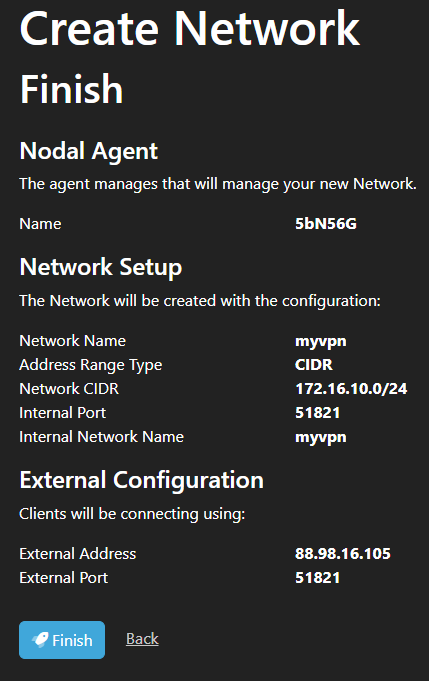
5. Summary
A summary page will now be displayed, click Finish to complete the wizard.
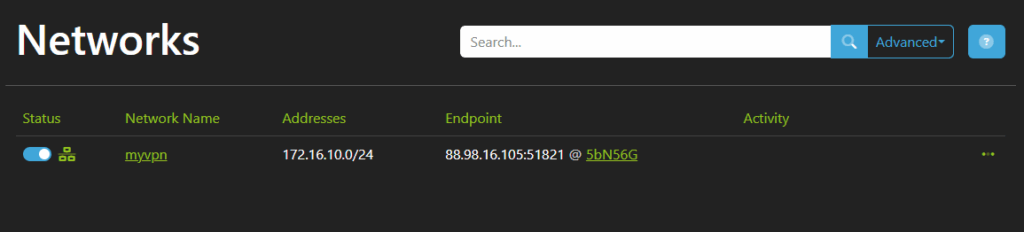
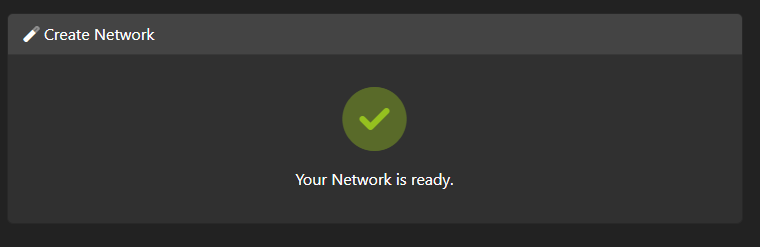
Your network creation is now complete.
If you navigate back to Resources->Networks, the new network will now be visible.