Documentation
FileDrop
Installing FileDropNodal VPN
Getting Started with Nodal VPNSigning up for Nodal VPN
Deploying Nodal Agent on Proxmox
Deploying Nodal Agent on VMware ESXi
Deploying Nodal Agent on Hyper-V
Creating a VPN Network
Nodal VPN Client Configuration
Installing the Windows VPN client
Connecting the Nodal VPN Client
Setting a static IP on the Nodal Agent
Password Express
Getting Started with Password ExpressSigning up for Password Express
Installing Windows Connect
Performing a Password Reset
Configuring Authentication Policies for Password Reset
Enrolling a User
Secure File Exchange
Installing on WindowsInstalling on Linux
Installing an SSL Certificate
Uninstalling (All Platforms)
Virtual File System
Browsing Files
Sharing Files
Upload Forms
Incoming Files
Sharing Shortcodes
File Systems
Mounting External FilesLocal Files
Plan Storage
SFTP Folders
Windows Shares
S3 Buckets
Goggle Cloud Storage
Azure Containers
Sharing Upload Forms
Introduction
Upload Forms allow you to share a URL with your partners, customers or employees that enables the upload of files directly into your file system.
You can create Upload Forms by using the Public Upload Wizard. This wizard is available under the Quick Setup widget on the Dashboard.
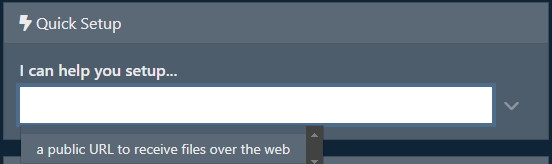
Select the item “a public URL to receive files over the web” to start the wizard.
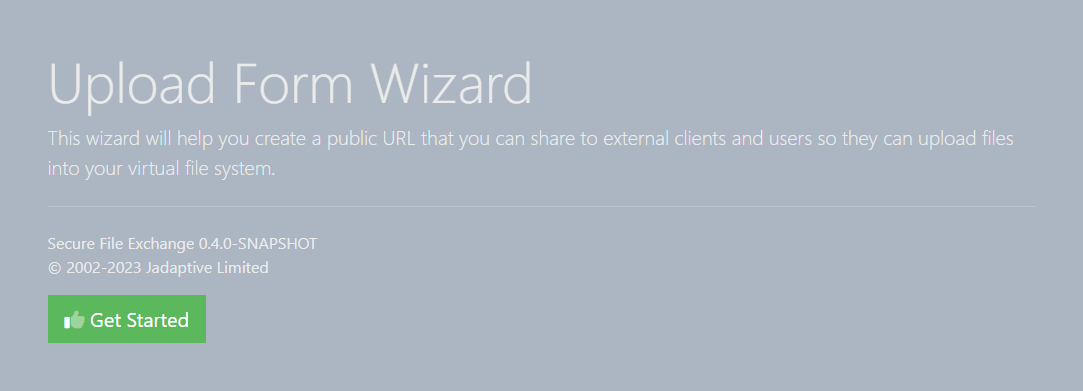
Click on Get Started to start the first step.
1. Set Name
The first step asks for a name for this upload form and a path in the Virtual File System to host the mount.
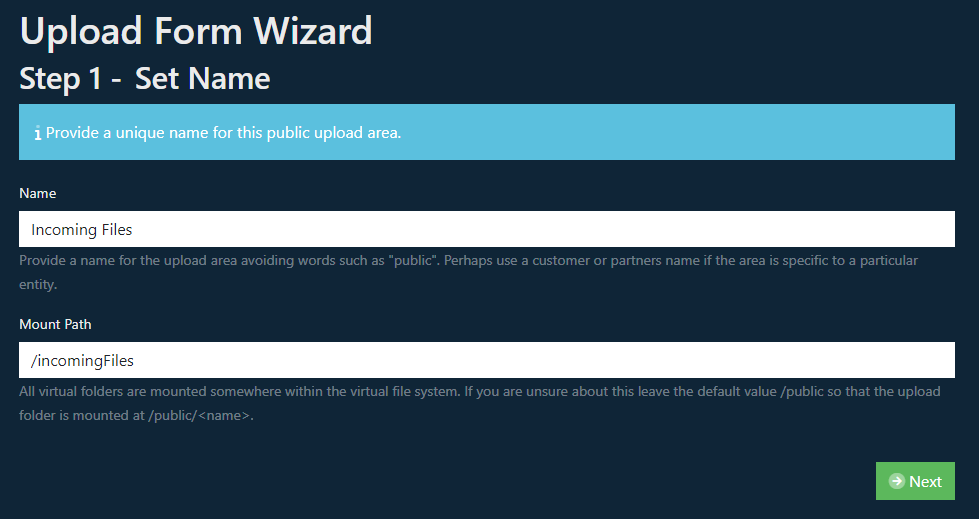
If you leave the mount path as its default /public, you will have the new virtual folder mounted at /public/<name>. The mount path is editable, and you can change this if you like. However, the system will not automatically append the name to the path if you change it.
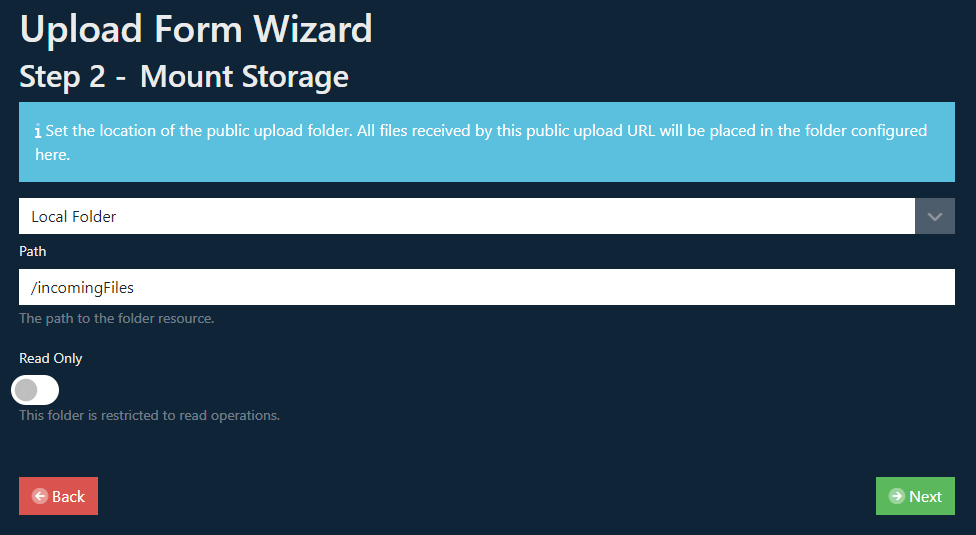
2. Create Mount
The next step is to create the mount. You can choose any of the supported file system types to mount here. In this example, we use a Local folder Share.
3. Credentials
If the file system type selected requires credentials, the next step presented will require you to enter those credentials.
If the file system type selected does not support credentials, you will not see this step.
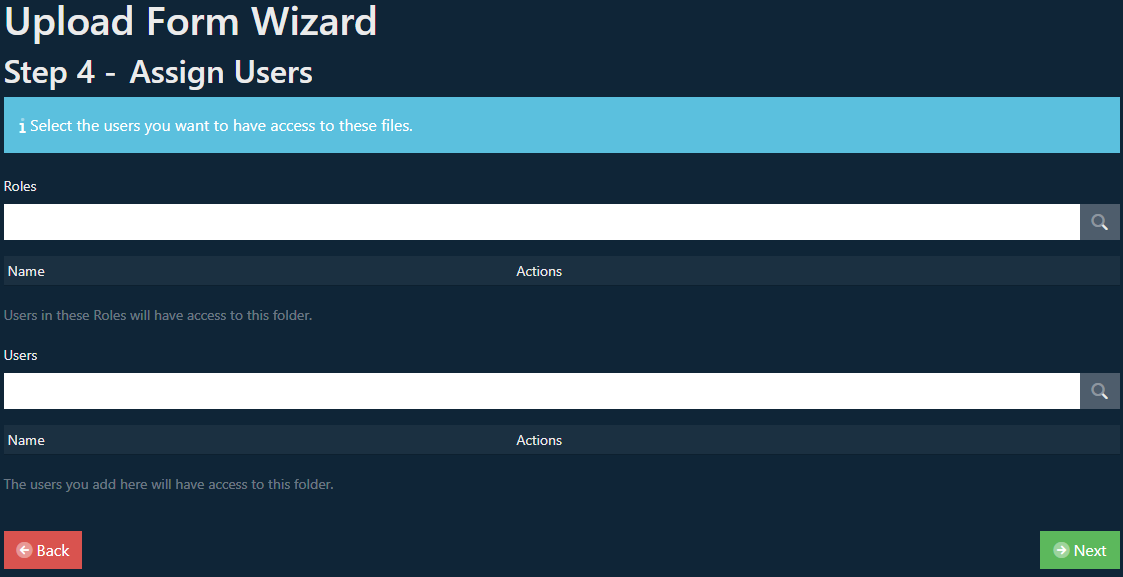
4. Assign Users
The final step asks you to assign users to the new mount. These will be the users that can access the mount and see the files uploaded by your partners. Use the Everyone role if you want to assign it to all users.
5. Additional Options
The final page for input is the Additional Options page. This allows you to configure the shortcode used for the public URL and set notification preferences.
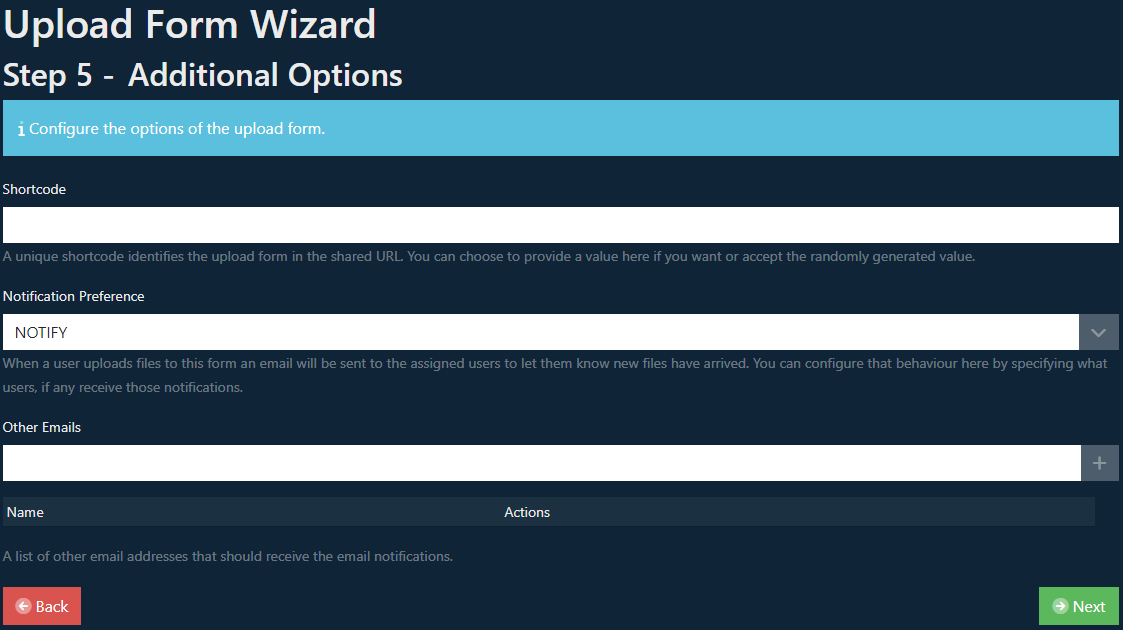
Short Code
This unique 8 character string forms part of the URL and identifies this share when uploading files. The shortcode is generated automatically, but you can provide your string if you want something more readable.
Notification Preference
When a user uploads files using this form, you can optionally send emails to users to notify them when files have arrived. The default behaviour is to notify the users assigned to the form. You can also choose to not notify (DO NOT NOTIFY), only notify users directly assigned the form rather than assigned through roles (IGNORE ROLES) or send emails to all assigned users except the Everyone role (IGNORE EVERYONE ROLE).
If you want to email other users, you can add any email address to the Other Emails field.
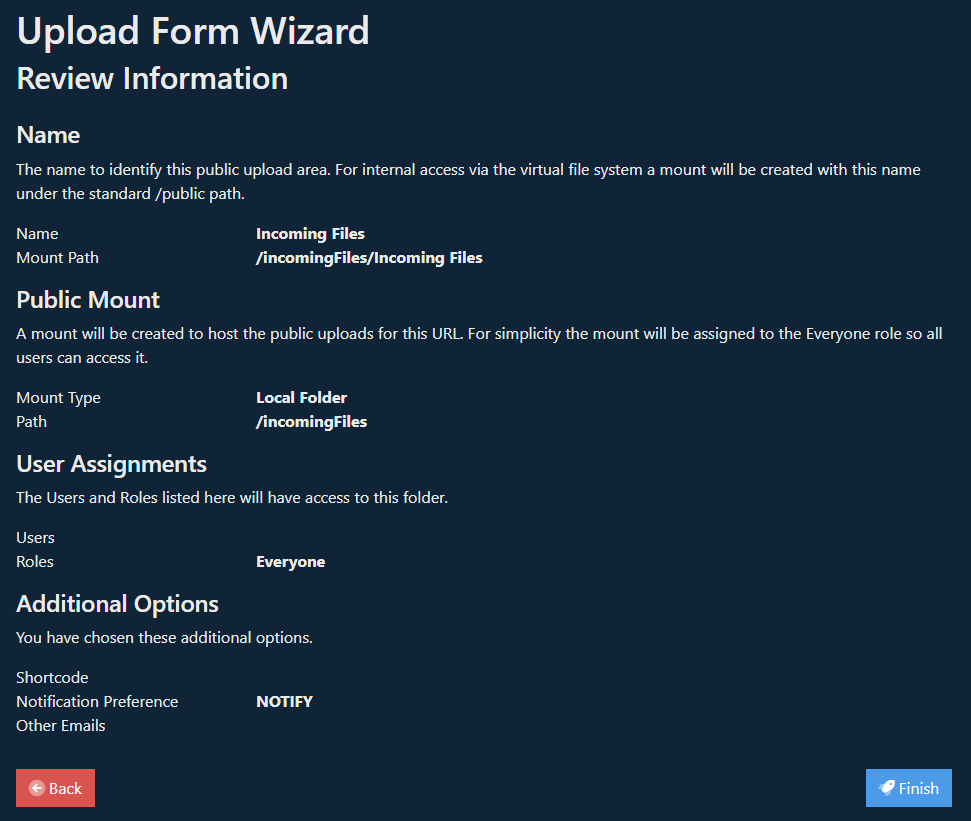
Review Information
Before the Wizard creates all the resources, it will show the information for you to review. When you are happy to proceed, click the Finish button, or go back to change any of the information already entered.
Wizard Complete
Once the wizard has completed, it will show you the URL created for this share. This will always be the path /app/ui/incoming/<shortcode> where the shortcode is a unique eight-character alpha-numeric string.

Clicking on the link brings up the upload form. This is publically available to anyone with the URL.
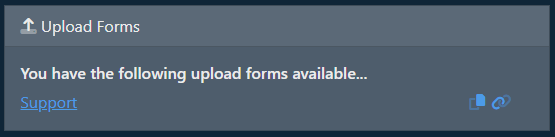
Take a note of the URL. You can copy the URL to the clipboard or use the link icon to go to the upload form. You can also access this from the Dashboard; it will show under the Incoming Files widget on the Dashboard.
You will find that you now have a new Virtual File System folder with the name you specified in the first step. You will see this under Configure File System under the Resources menu.

You will also find a new resource under the Upload Forms menu.

Uploading Files
When you go to the URL generated, you will see an upload form.
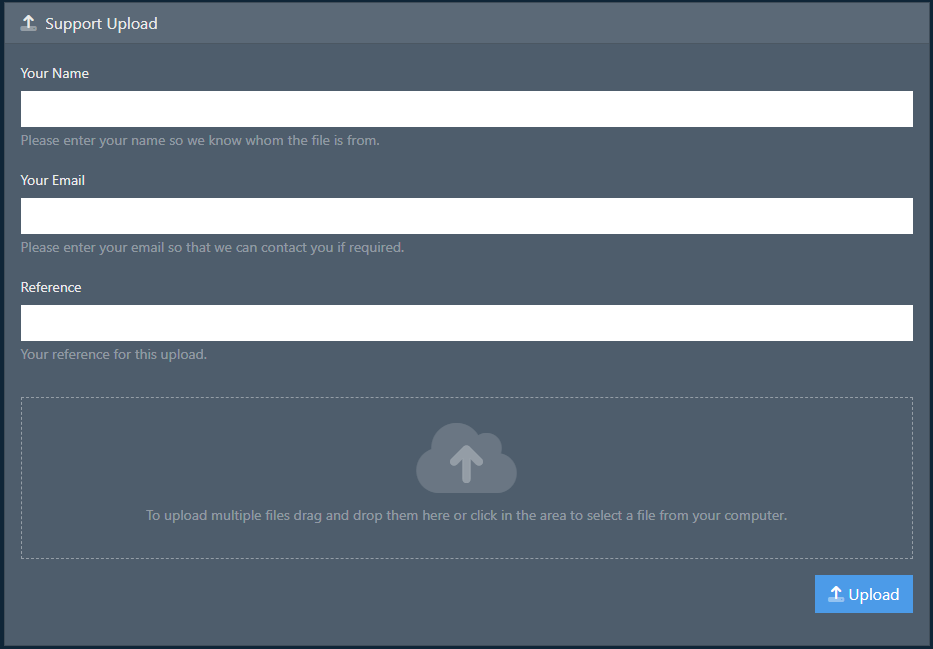
Users should complete all fields to upload a file, providing their name, email address and a reference.
Once ready, they click the Upload button. If they have provided all the information, the upload will commence.
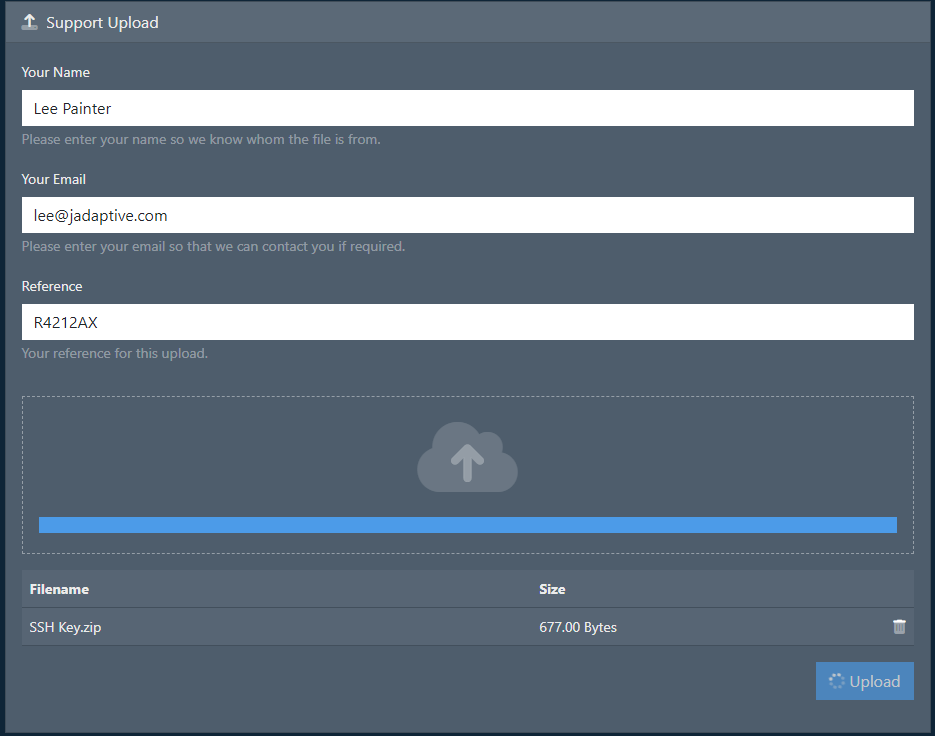
Once all the files have been uploaded, they will receive acknowledgement in the user interface.