Documentation
FileDrop
Installing FileDropNodal VPN
Getting Started with Nodal VPNSigning up for Nodal VPN
Deploying Nodal Agent on Proxmox
Deploying Nodal Agent on VMware ESXi
Deploying Nodal Agent on Hyper-V
Creating a VPN Network
Nodal VPN Client Configuration
Installing the Windows VPN client
Connecting the Nodal VPN Client
Setting a static IP on the Nodal Agent
Password Express
Getting Started with Password ExpressSigning up for Password Express
Installing Windows Connect
Performing a Password Reset
Configuring Authentication Policies for Password Reset
Enrolling a User
Secure File Exchange
Installing on WindowsInstalling on Linux
Installing an SSL Certificate
Uninstalling (All Platforms)
Virtual File System
Browsing Files
Sharing Files
Upload Forms
Incoming Files
Sharing Shortcodes
File Systems
Mounting External FilesLocal Files
Plan Storage
SFTP Folders
Windows Shares
S3 Buckets
Goggle Cloud Storage
Azure Containers
Mounting Google Cloud Storage
Introduction
In our Mounting External Files article we show you how to create a mount and assign it to your users. This is a supplementary article that shows you how to configure the mount to set it up pointing to a Google Cloud Storage Bucket resource.
The Folder Tab
When configuring a Google Cloud Storage Bucket as a mount, the folder tab will contain the Bucket and Path fields.
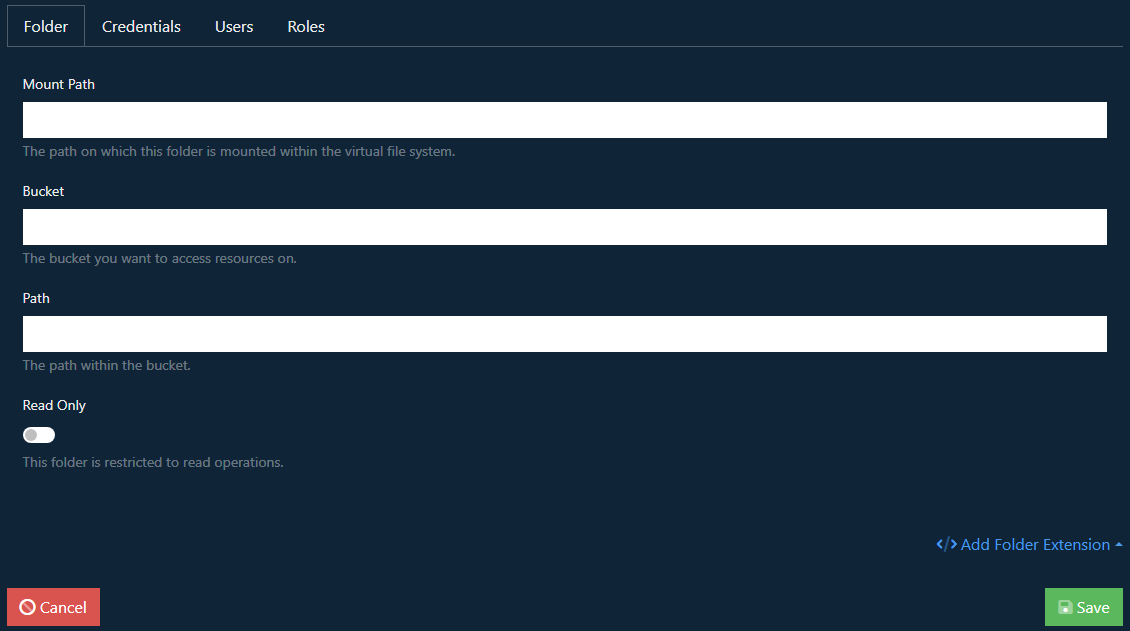
Bucket
Enter the name of the bucket in your Google Cloud Storage project that you want to access. For example, jadaptive-bucket
Path
If you want to limit browsing of the bucket to a specific path within then add the path here. For example, versions/1.0
See below for help on how to create a Google Cloud Storage bucket.
Credentials
Enter the client credentials that will be used to access the bucket. This will require a Google service account with the necersary permissions to access the bucket.
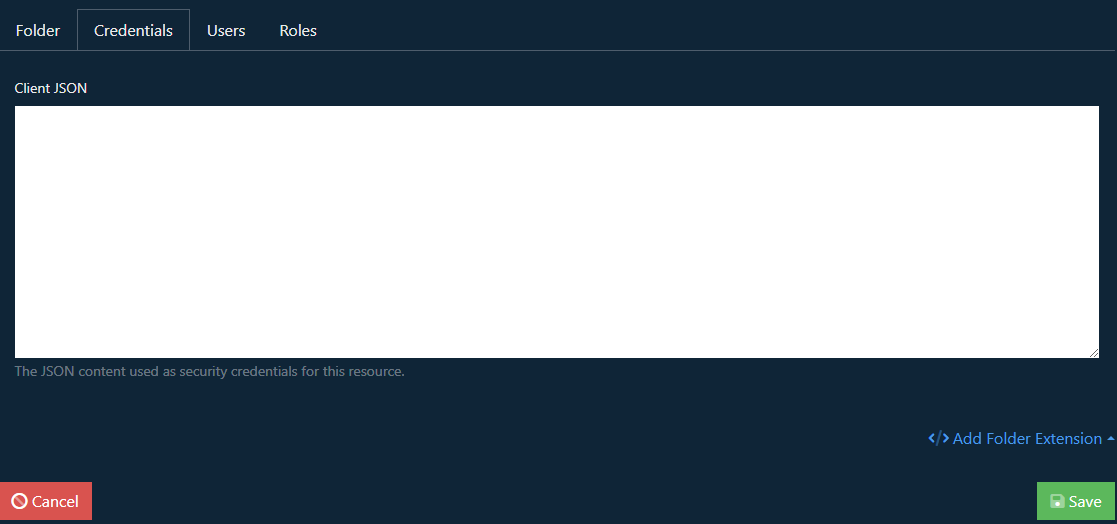
See below for help on how to create a set of credentials for your bucket.
Creating a Google Cloud Storage Bucket
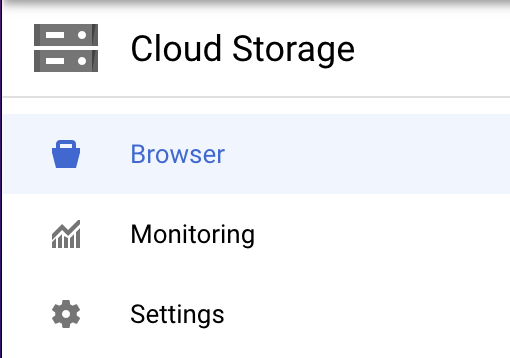
To create a bucket you should log into the Google Cloud Console and navigate to the Cloud Storage section.
Click Create Bucket
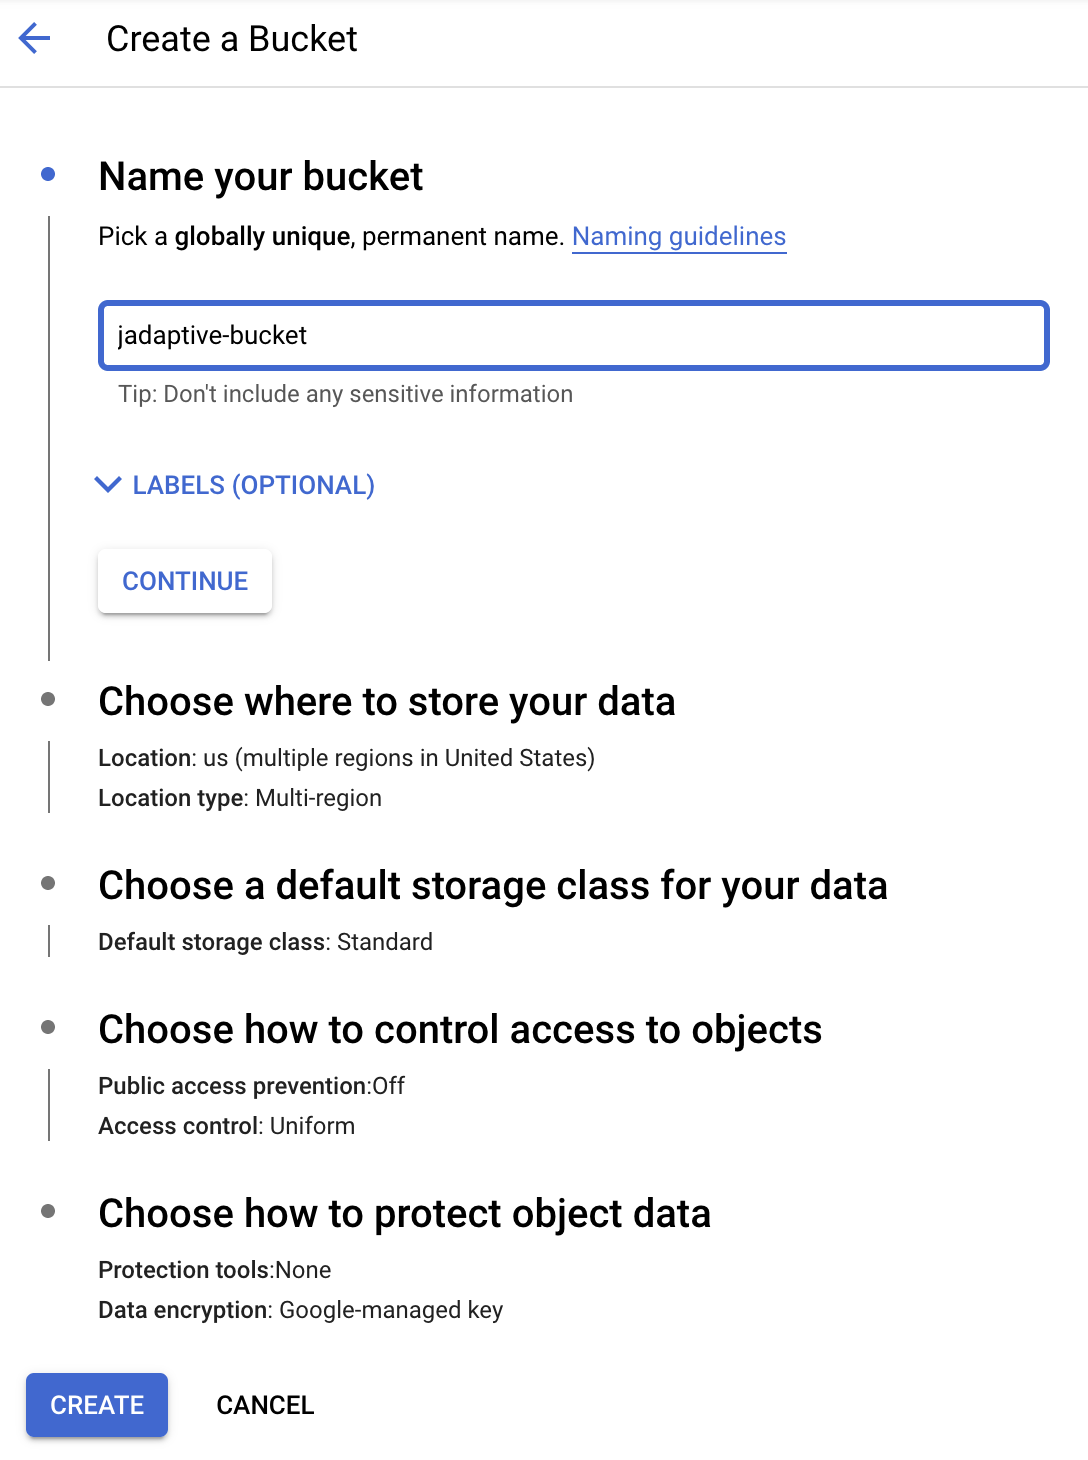
Provide the bucket a name for example jadaptive-bucket
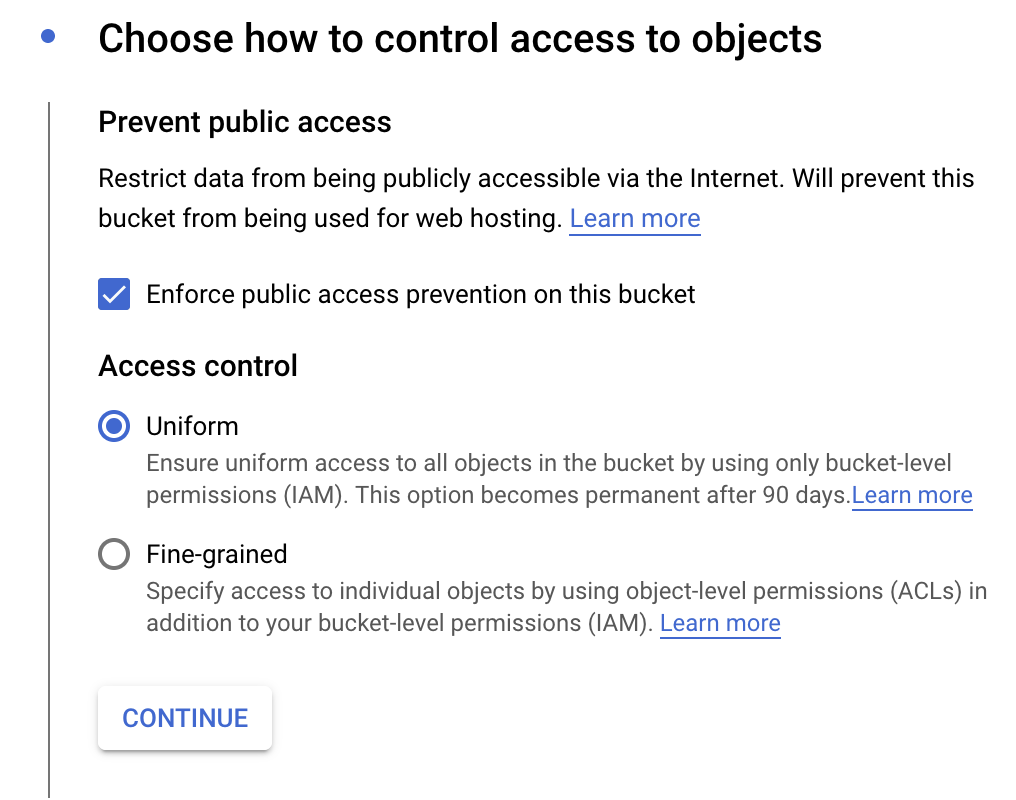
In the following sections by clicking Continue you can setup further options like where to store your data, storage class. We recommend you turn on public access prevention to ensure only your server can access the bucket. To do this in the Choose how to control access to objects check the Enforce public access prevention on this bucket option.
Once you have configured the bucket to your satisfaction, click Create.
Your bucket is now ready for use. If you don’t have client credentials yet follow the instructions below to setup a service account to access your buckets.
Creating Client Credentials
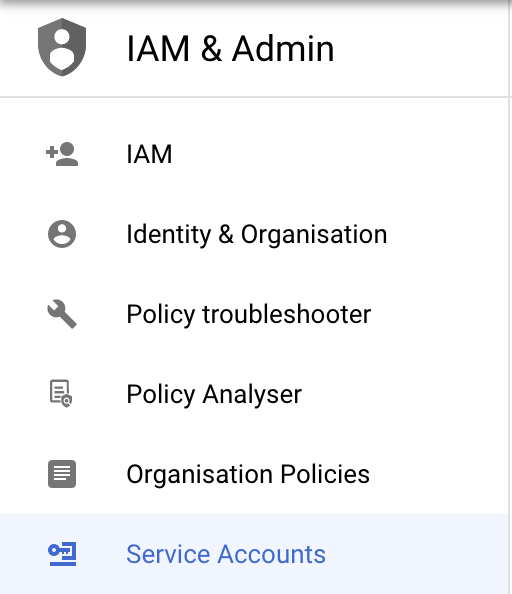
To create a service account, log into Google Cloud Console and navigate to the IAM & Admin section. Selecting the Service Accounts option in the menu.
Click Create Service Account
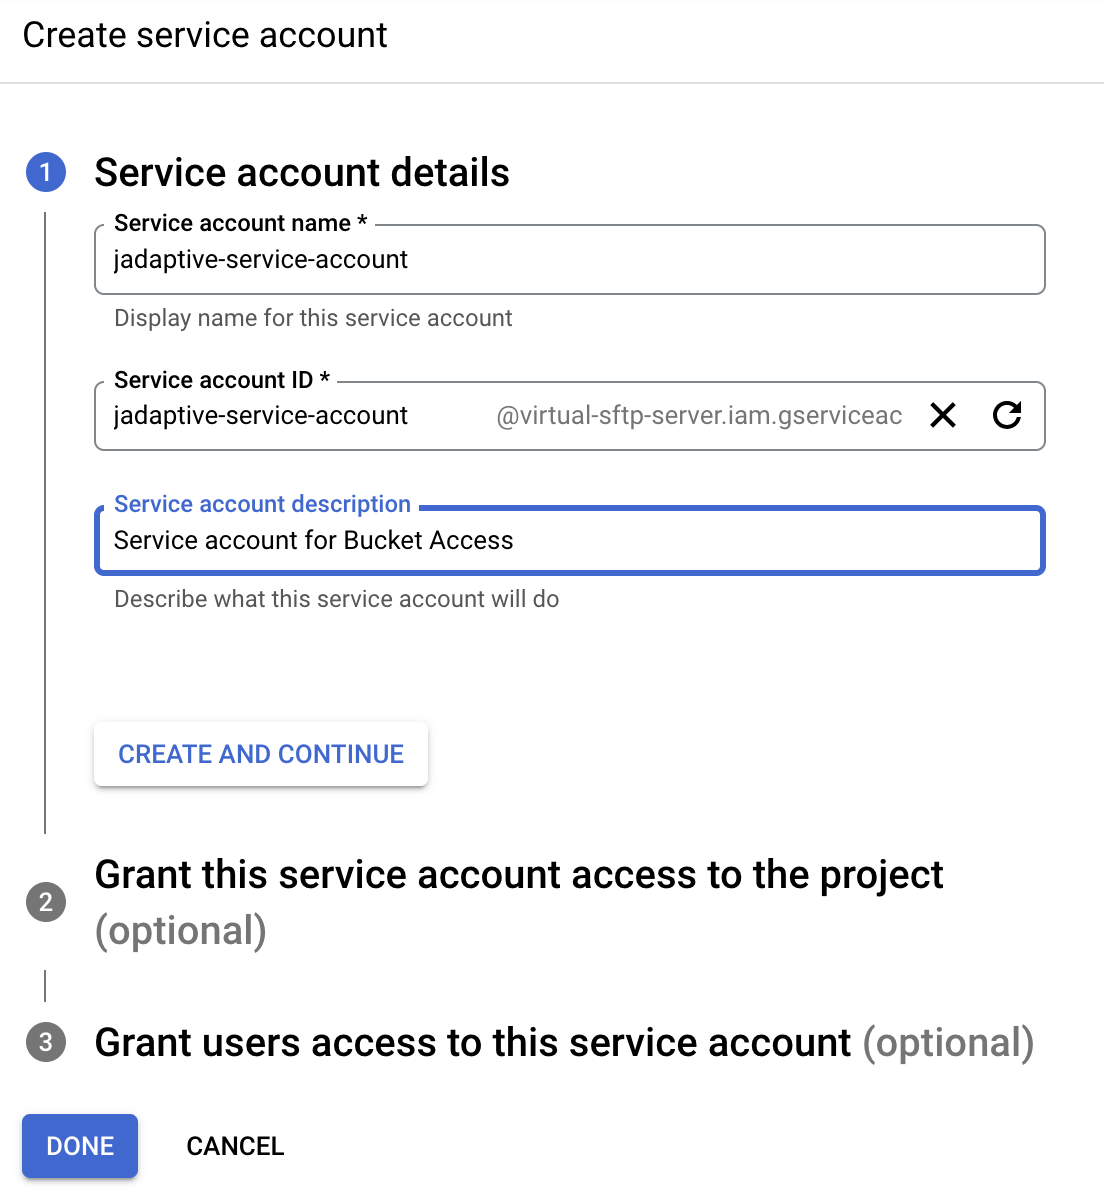
Enter a name and id for this service account, add a description to help you remember the purpose of this account.
Click Create and Continue
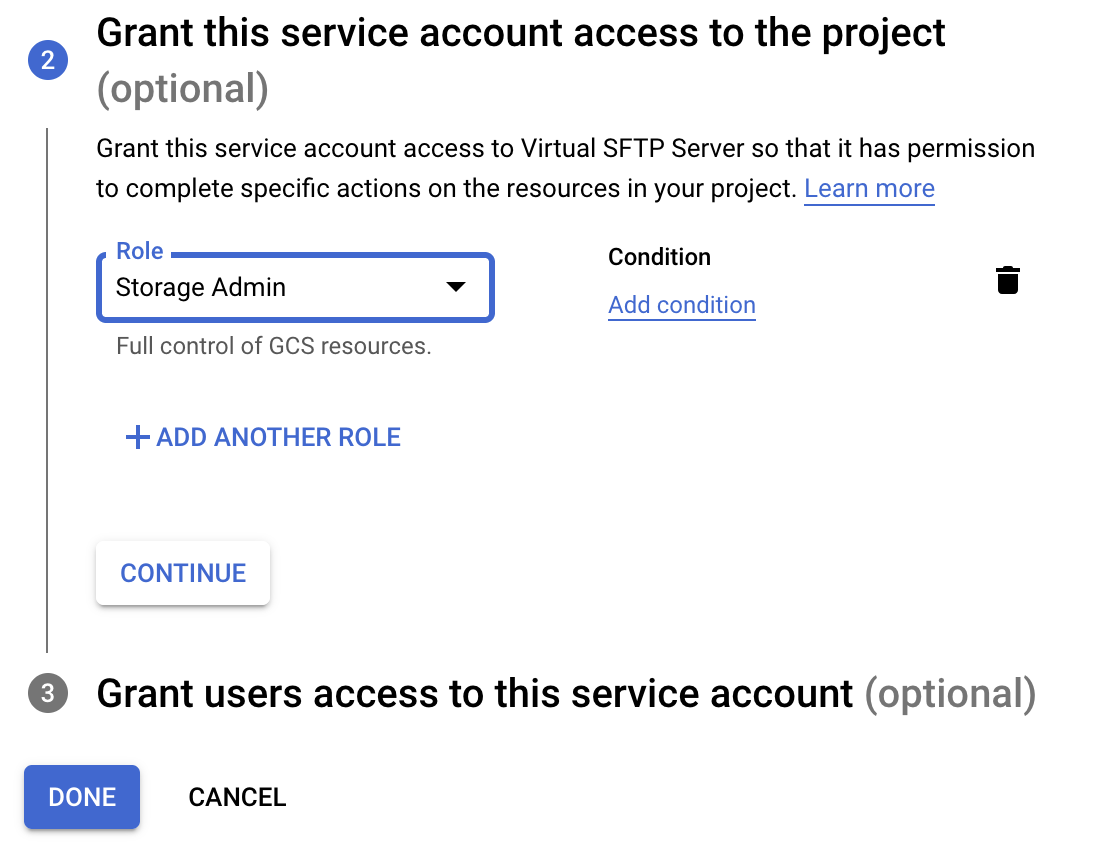
In the next section, select the Storage Admin role. You will find this under the Cloud Storage group of permissions.
Click Done to complete the operation. This will take you back to the service accounts listing where you will find your new account listed.
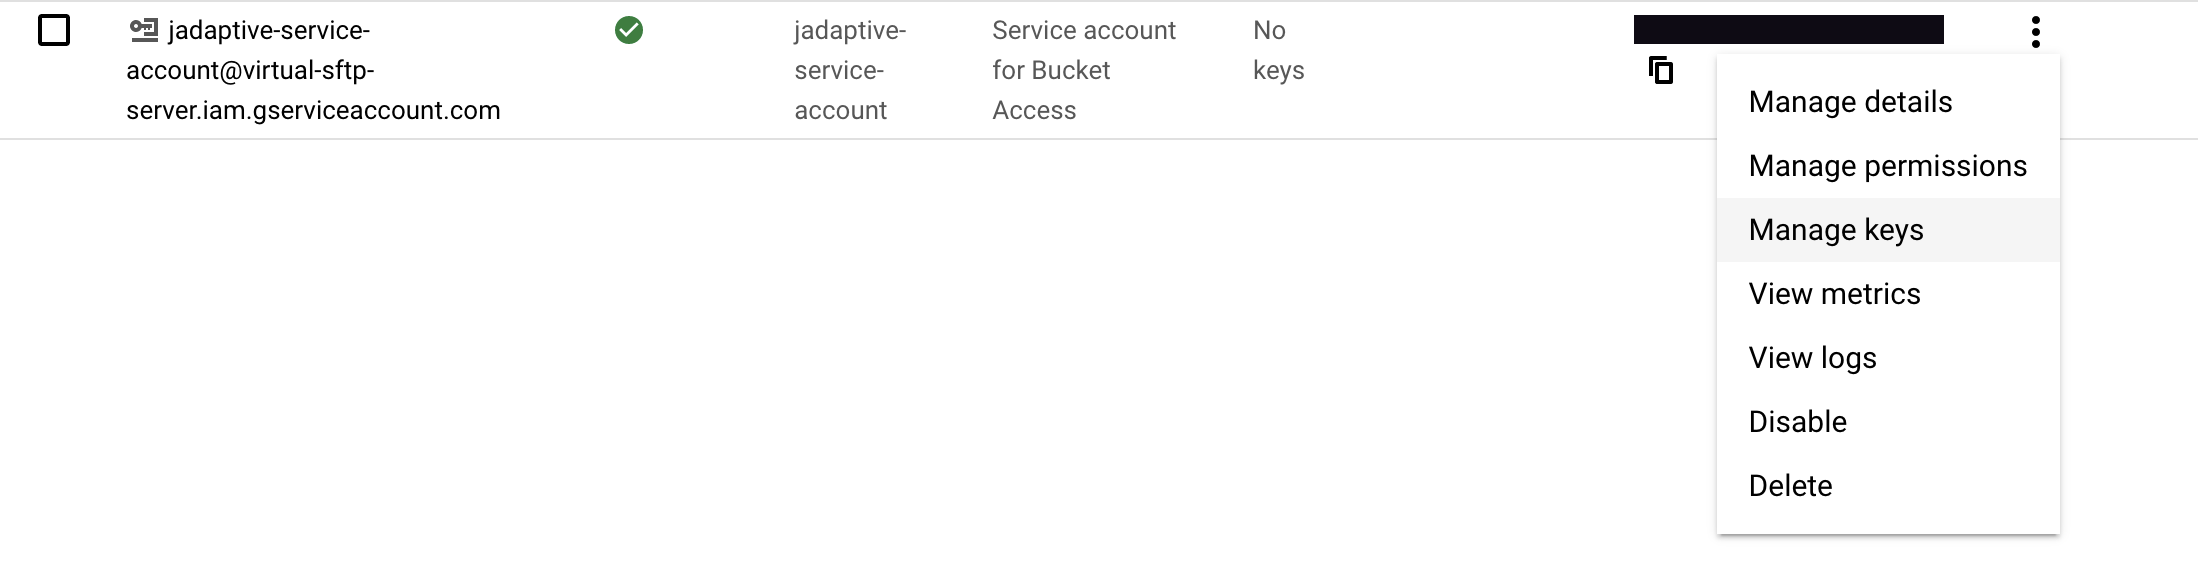
In the Actions column, click the icon to reveal the context menu. Click on Manage Keys to show the key table.

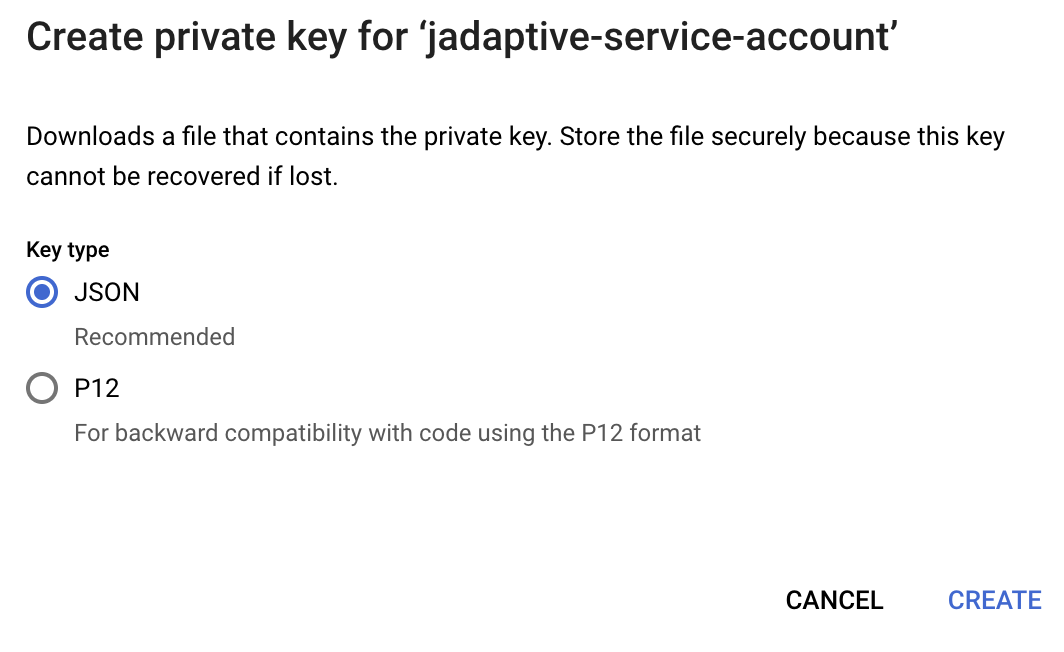
Click Add Key to present the option to create a key. Select JSON as the key type.
Click Create and you will be prompted to save the key to your local computer. Keep this safe.
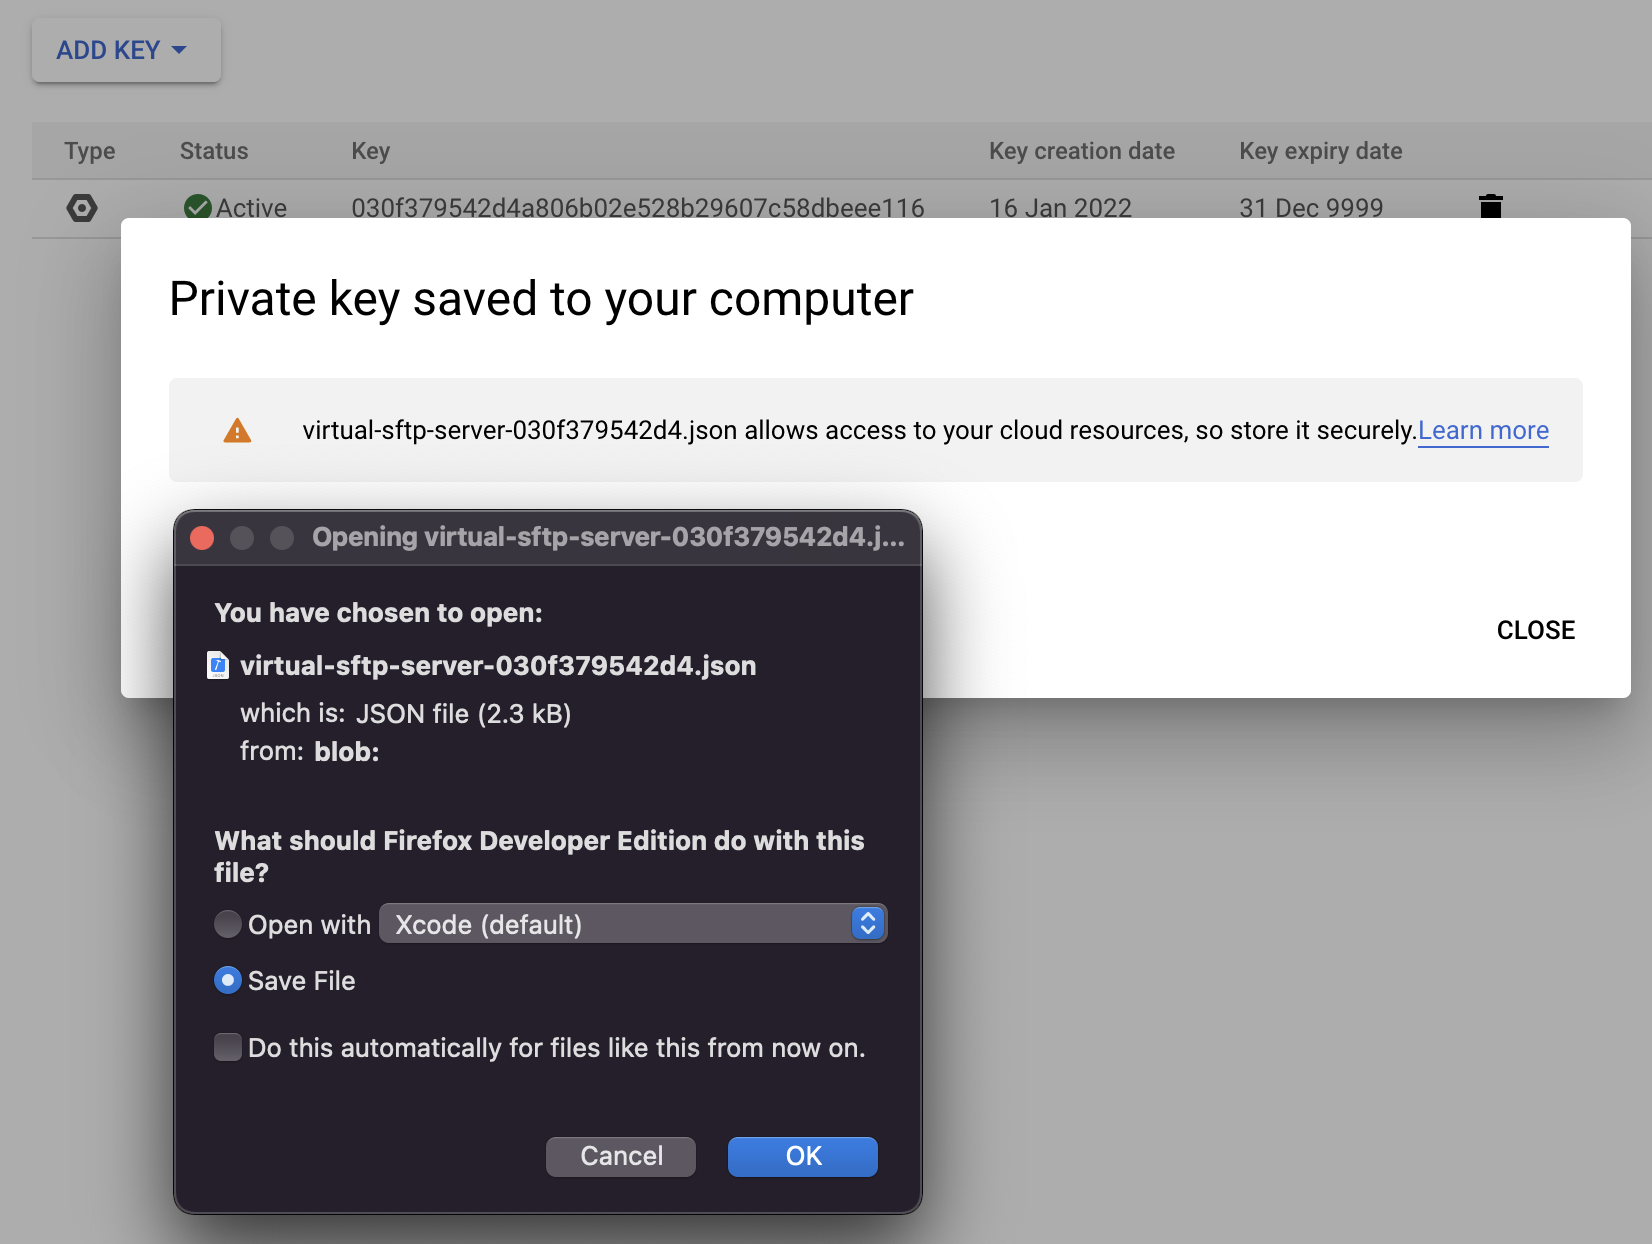
You have now setup the credentials correctly and you can open the JSON file and paste the entire contents into the Client JSON field in the Credentials tab.