Documentation
FileDrop
Installing FileDropNodal VPN
Getting Started with Nodal VPNSigning up for Nodal VPN
Deploying Nodal Agent on Proxmox
Deploying Nodal Agent on VMware ESXi
Deploying Nodal Agent on Hyper-V
Creating a VPN Network
Nodal VPN Client Configuration
Installing the Windows VPN client
Connecting the Nodal VPN Client
Setting a static IP on the Nodal Agent
Password Express
Getting Started with Password ExpressSigning up for Password Express
Installing Windows Connect
Performing a Password Reset
Configuring Authentication Policies for Password Reset
Enrolling a User
Secure File Exchange
Installing on WindowsInstalling on Linux
Installing an SSL Certificate
Uninstalling (All Platforms)
Virtual File System
Browsing Files
Sharing Files
Upload Forms
Incoming Files
Sharing Shortcodes
File Systems
Mounting External FilesLocal Files
Plan Storage
SFTP Folders
Windows Shares
S3 Buckets
Goggle Cloud Storage
Azure Containers
Mounting External Files
Introduction
This article shows you how to configure an external file system and mount it to a folder within the Virtual File System.
Configure File System
First, navigate to the Administration->Configure File System page.

This should present you with the current Virtual Folders (Mounts) list.
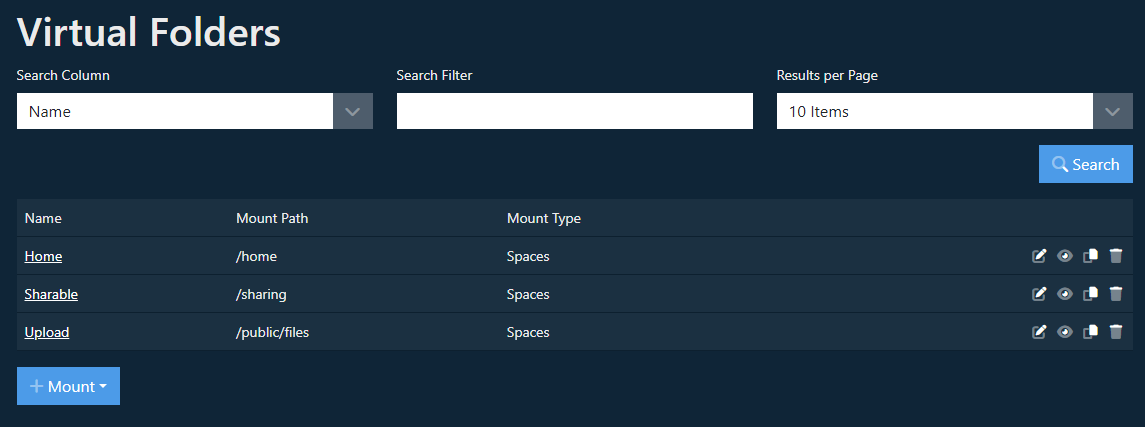
To open an existing mount for editing, click on its name in the table. An underlined font clearly identifies this.


The “eye” icon lets you view the mount configuration. No changes are possible when viewing.

The “copy” icon brings up the new mount form, populated with the details of the existing mount; ready to make a copy of the mount.

The “trash” icon will delete the mount. You will be prompted to confirm the deletion.
Mounting an External File System
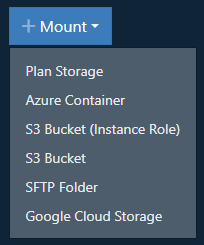
Click the + Mount button at the bottom of the table and choose the type of file system from the list of options.
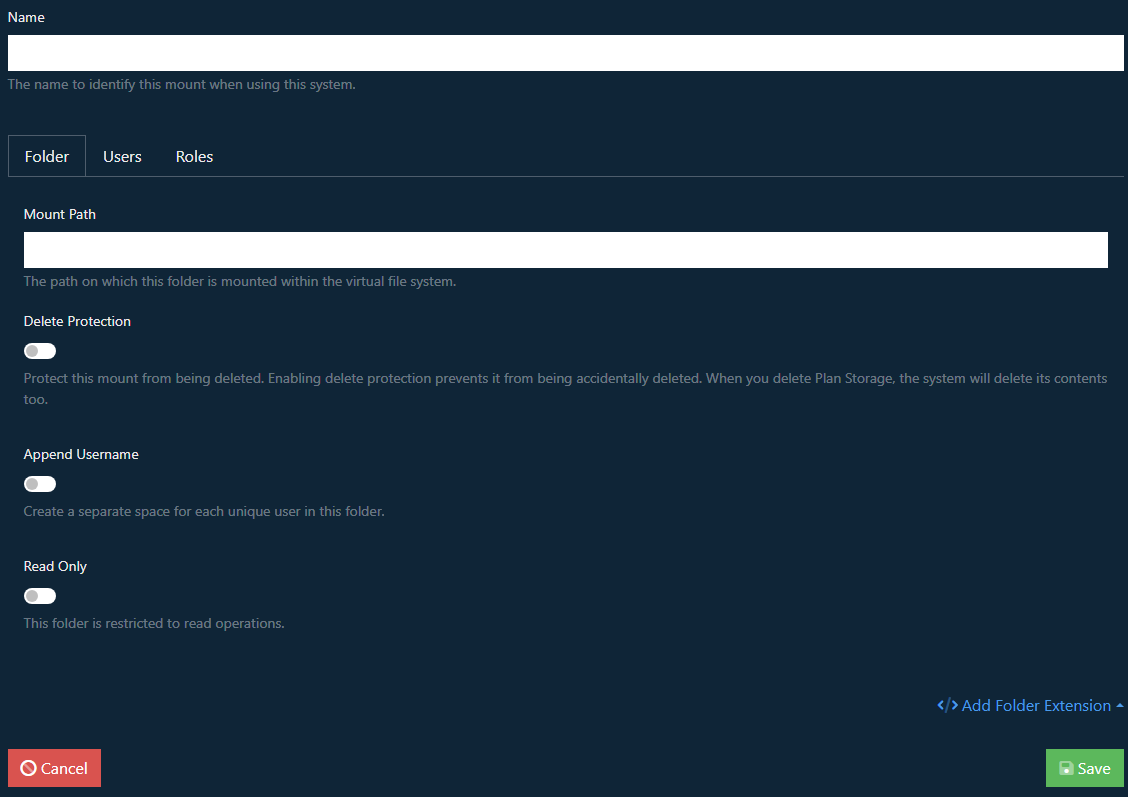
On the Create page, provide the mount with a descriptive name. This is not used in the file path; it is just for your information.
Next, provide a valid file system path for the mount. Mount paths must be absolute paths within the Virtual File System and, therefore, should start with a slash; for example /projects or /documents/contracts
If the target folder does not exist, check the Create checkbox. The mount will not be able to be created if the target folder does not exist.
The Folder Tab
Each file system supported has different options for the next stage. These are documented in the following articles.
There are, however, a number of common settings here that apply to all file systems.
Delete Protection
When enabled this option protects the mount from being accidentally deleted.
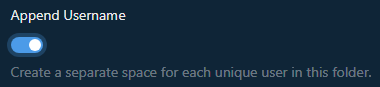
Append Username
If you check this option, the user’s name will be appended to the Local Path field when resolving the mount. This allows you to provide user-specific folders with a single configuration, for example, when setting up home folders where each user has their own space within the file system.
Read Only
Enabling this option will restrict the share to read only permissions, so changes to the mount and files within will not be possible
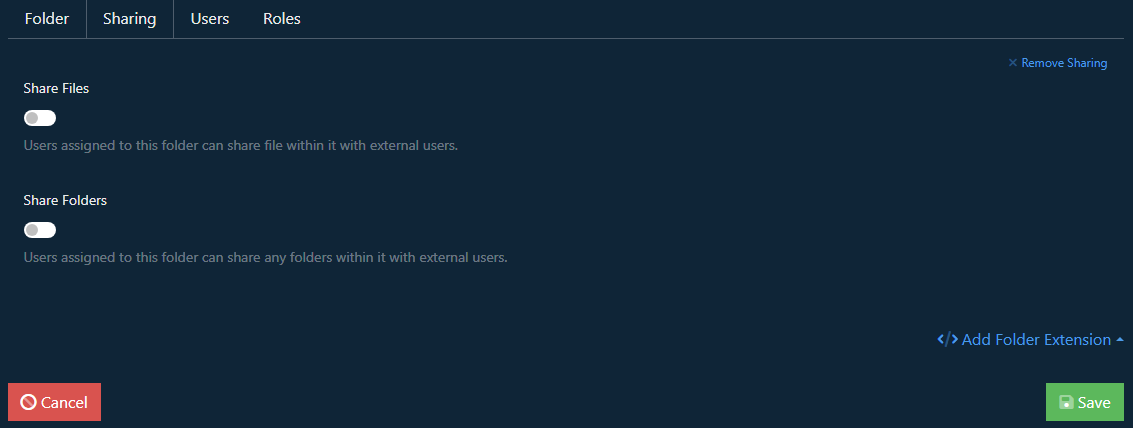
The Sharing Tab
The sharing tab allows you to define how users can interact with this mount. For example, you might want to make a read-only mount. It also has sharing options which are further explained in Sharing Files article.
The Additional Tabs
Notes
The Notes tab adds the option to add text notes related to the folder
Cache Strategy
As users browse around the file system, a cache is created of the files to avoid excessive lookups and delays caused by networking. On Resolve provides a reasonable implementation of a cache and should not need to be changed unless directed to do so by a JADAPTIVE support operative.

Assigning Users
You assign users to the mount under the Users tab. Start typing the user’s name to search the database. Select the user to add it to the list.
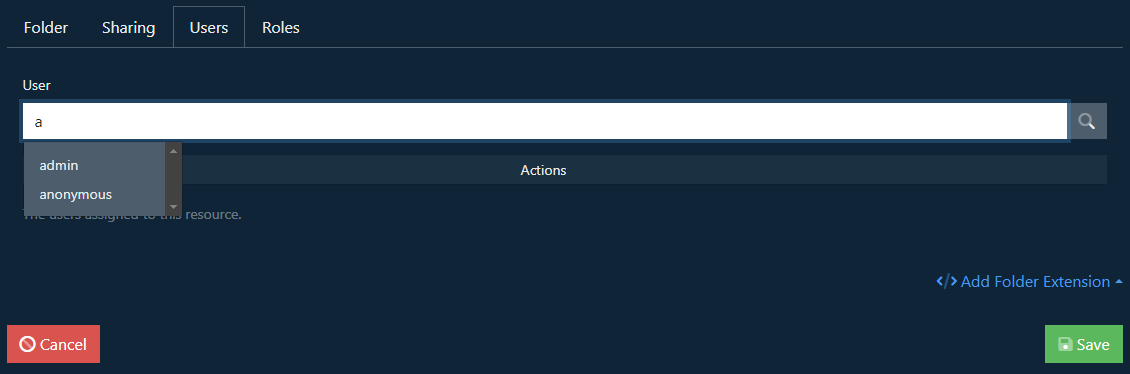
Delete users from the list by selecting the user in the list and clicking the red delete icon in the bottom right.
The Anonymous User
You will notice that a user called anonymous is available. Assigning anonymous to a mount activates sharing features. Generally, you would not add this user yourself. The Public Upload Wizard primarily uses it to create an area that you can share with external clients to upload files to your file system.
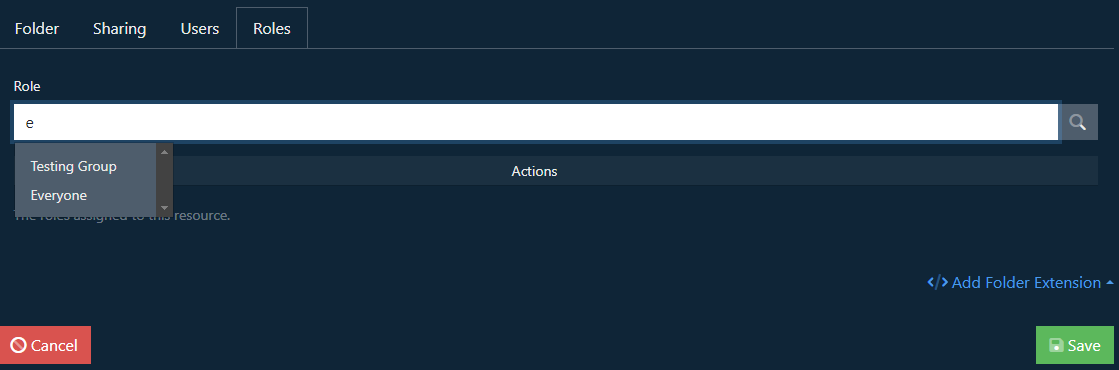
Assigning Roles
Similarly to Users, the Roles tab allows you to assign roles to resources. If you want the mount to be available to all users, then assign it to the Everyone role. You can create your own set of Roles according to the needs of your users and company policies.