Documentation
Nodal VPN
Getting Started with Nodal VPNSigning up for Nodal VPN
Deploying Nodal Agent on Proxmox
Deploying Nodal Agent on VMware ESXi
Deploying Nodal Agent on Hyper-V
Creating a VPN Network
Nodal VPN Client Configuration
Installing the Windows VPN client
Connecting the Nodal VPN Client
Setting a static IP on the Nodal Agent
Password Express
Getting Started with Password ExpressSigning up for Password Express
Installing Windows Connect
Performing a Password Reset
Configuring Authentication Policies for Password Reset
Enrolling a User
Secure File Exchange
Installing on WindowsInstalling on Linux
Installing an SSL Certificate
Uninstalling (All Platforms)
Virtual File System
Browsing Files
Sharing Files
Upload Forms
Incoming Files
Sharing Shortcodes
File Systems
Mounting External FilesLocal Files
Plan Storage
SFTP Folders
Windows Shares
S3 Buckets
Goggle Cloud Storage
Azure Containers
Server Management
Installing the Windows Credentials ProviderUser Accounts
Roles
Authorized Keys
Event Logs
Email Messages
HTML templates
Session Management
Authentication Modules
Authentication Policies
SMTP Configuration
User Interface
BrandingUser Interface Themes
Signing up for Nodal VPN
This article will show you how to sign up for a new instance of our Nodal VPN service, a cloud-managed VPN solution for all your users’ remote access needs.
Introduction
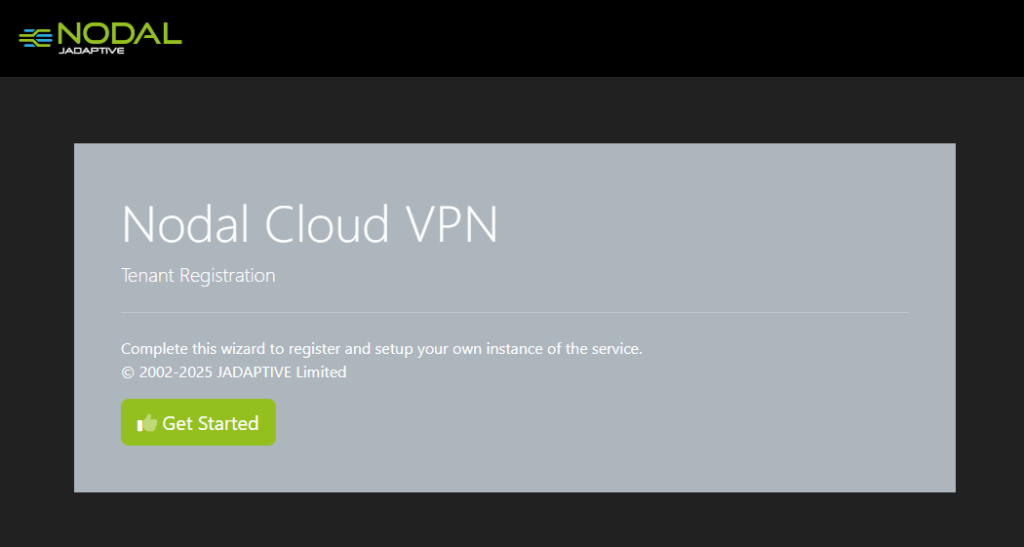
If you have not done so already, visit our Online Form to request access to the service. You will receive an email with a personalised link to start setting up your Nodal VPN tenant.
Click on the link in the email to start the setup wizard. Click Get Started.
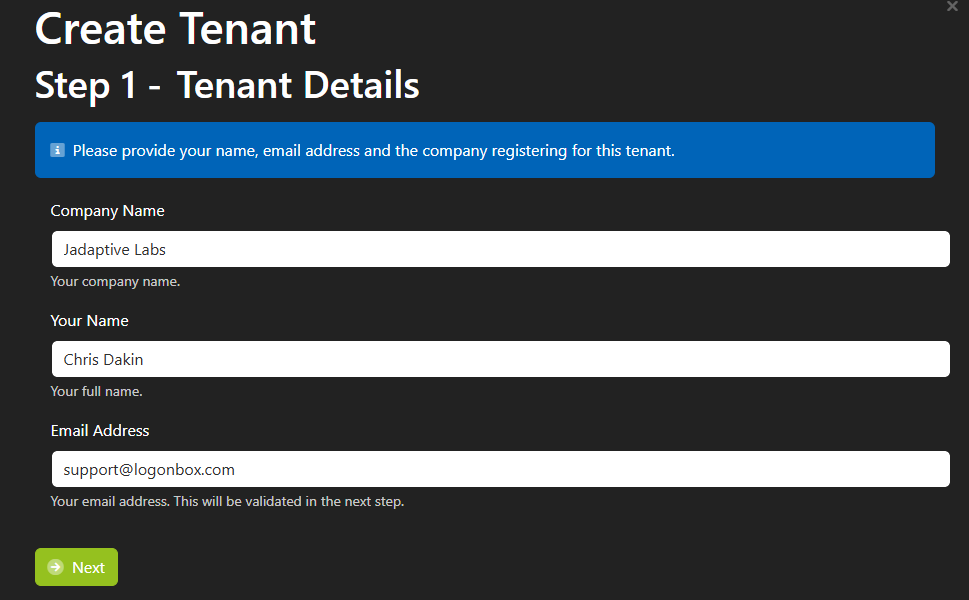
1. Tenant Details
Type in your Company Name, Your Name and Email Address and click Next.
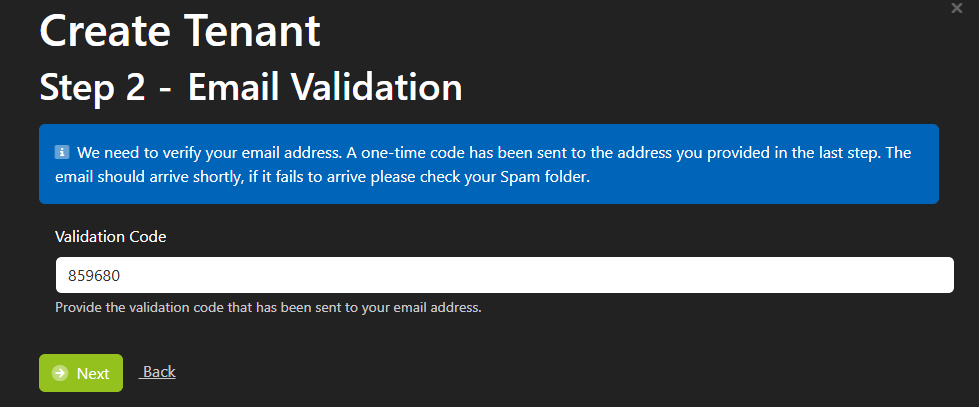
2. Validate Email
The Password Express service will now validate your email. We use an online service to score your email address. If it passes validation, the wizard will skip to domain configuration.
However, if you see a prompt for Email Validation, then please check your email address for our message and enter the one-time code that has been sent to you.
When you receive the code, copy that and enter into the form and click Next.
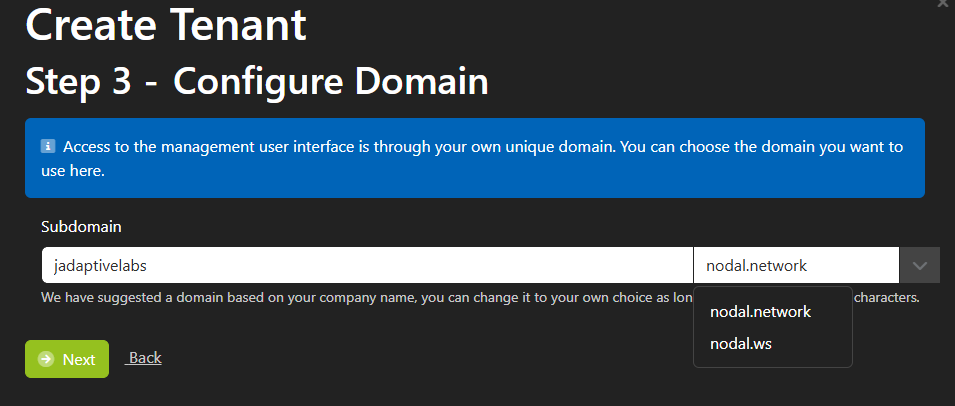
3. Configure Domain Name
You will now see a suggested sub-domain for your tenant. Either accept this default, or enter your own preferred subdomain.
You can also choose between our nodal.nework and nodal.ws domains. Once you have decided on the domain click Next.
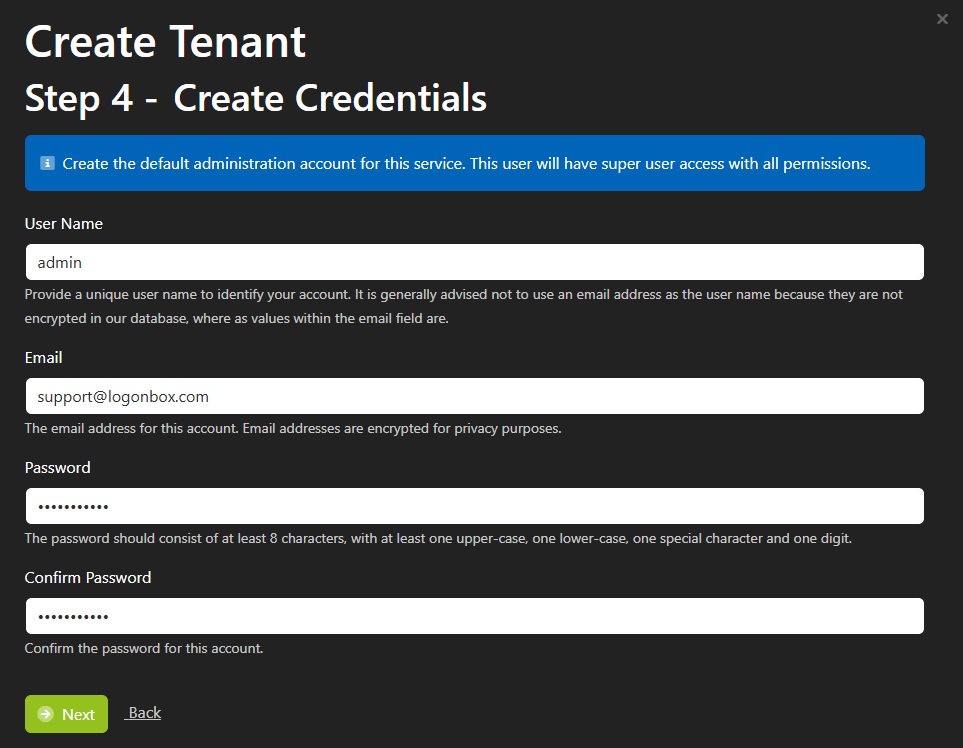
4. Create Credentials
Now you need to create your admin account for your tenant.
Enter your preferred User Name, Email and Password and click Next.
5. Choose Data Location
Click the dropdown and select the Database Location region that you would like your information to be stored, then click Next.

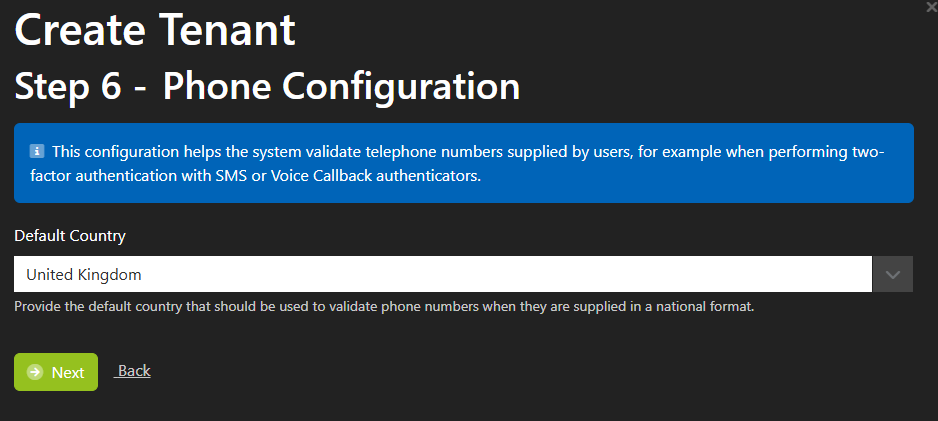
6. Phone Number Configuration
Nodal VPN is configured by default to work with our Cloud Messaging service. In order for this to work, we need to know the default country code to use for the majority of your users when validating phone numbers as these are likely stored in your Active Directory as national numbers.
The wizard will try to select the appropriate country based on your locale. If this is incorrect, change it to suit.
Click the dropdown, select your Country and click Next.
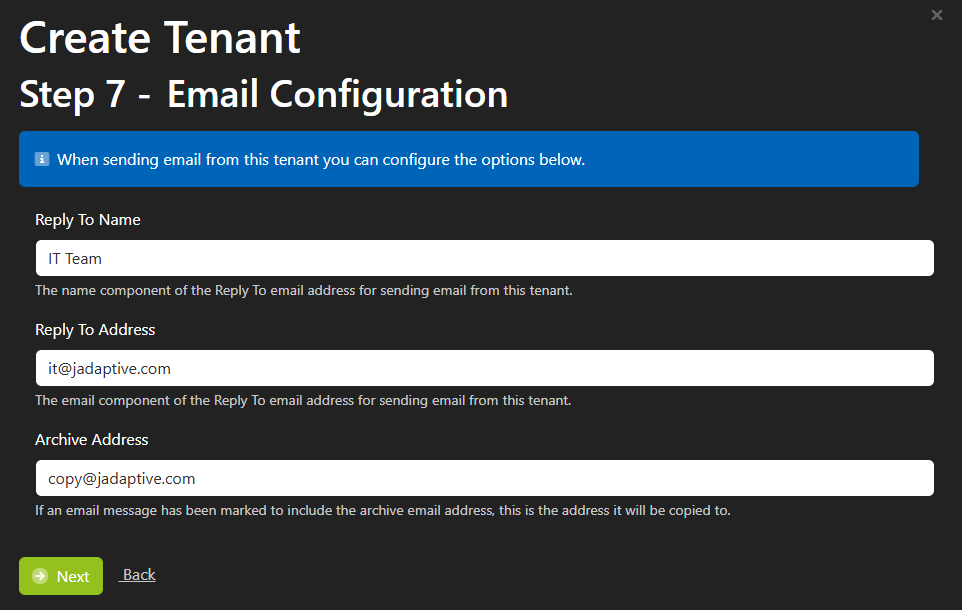
7. Email Configuration
For any emails that the tenant is likely to send out, you can now set values for the Reply To Name and Reply To Address.
You can leave these values blank in order to use the service system defaults of Password Express and support@jadaptive.com respectively.
If you want to send a copy of all emails to a separate email address for archive purposes, you can optionally set an Archive Address here too.
If you want to use your own SMTP server, you will have the chance to configure this once your tenant is setup.
Click Next to continue.
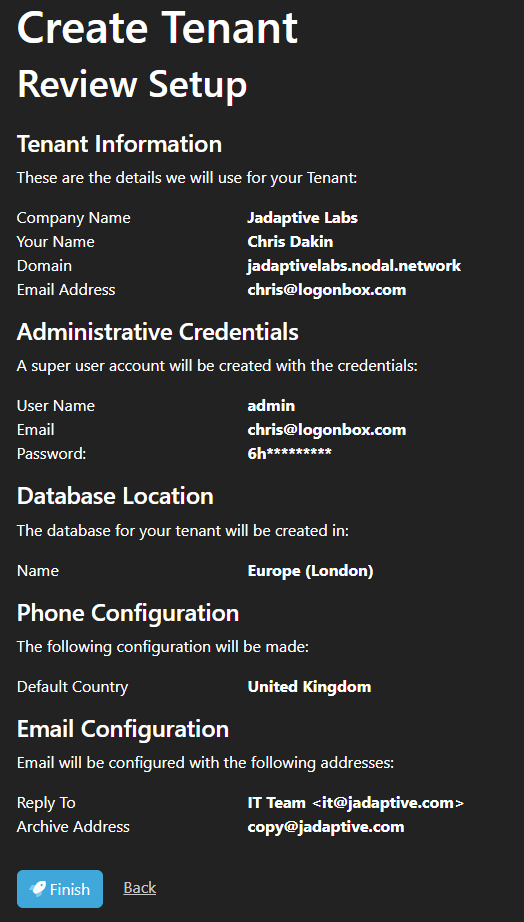
8. Review Setup
The final page allows you to review the settings you have entered. If you are happy with this, click Finish to complete the signup.
10. Tenant Creation
The tenant creation takes just a moment, after which you be prompted to click Login to proceed to your new tenant.
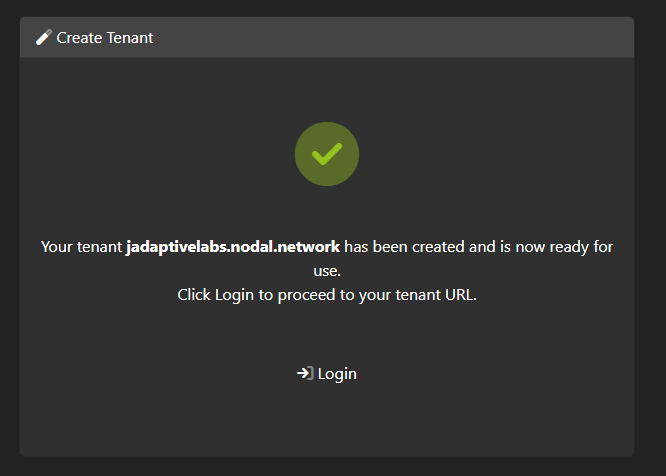
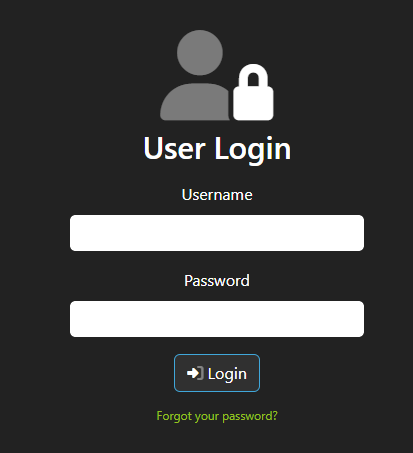
You can now log in with your admin account.