Documentation
Nodal VPN
Getting Started with Nodal VPNSigning up for Nodal VPN
Deploying Nodal Agent on Proxmox
Deploying Nodal Agent on VMware ESXi
Deploying Nodal Agent on Hyper-V
Creating a VPN Network
Nodal VPN Client Configuration
Installing the Windows VPN client
Connecting the Nodal VPN Client
Setting a static IP on the Nodal Agent
Password Express
Getting Started with Password ExpressSigning up for Password Express
Installing Windows Connect
Performing a Password Reset
Configuring Authentication Policies for Password Reset
Enrolling a User
Secure File Exchange
Installing on WindowsInstalling on Linux
Installing an SSL Certificate
Uninstalling (All Platforms)
Virtual File System
Browsing Files
Sharing Files
Upload Forms
Incoming Files
Sharing Shortcodes
File Systems
Mounting External FilesLocal Files
Plan Storage
SFTP Folders
Windows Shares
S3 Buckets
Goggle Cloud Storage
Azure Containers
Server Management
Installing the Windows Credentials ProviderUser Accounts
Roles
Authorized Keys
Event Logs
Email Messages
HTML templates
Session Management
Authentication Modules
Authentication Policies
SMTP Configuration
User Interface
BrandingUser Interface Themes
Nodal VPN Client Configuration
The last step before your users can connect to your Nodal VPN is to configure or review your Client Configuration. A client configuration defines where your clients are allowed to route inside your network as well as allowing you to add connection scripts that can be run on connecting.
It’s possible to assign client configurations to different sets of users, this way you can grant access to different areas of your network to different groups of users.
1. Client Configuration review
When you create a new network, the system will automatically create a default client configuration for you. This will allow your users access to the same subnet that your Nodal Agent is installed on. If you need to restrict this, you must edit the configuration.
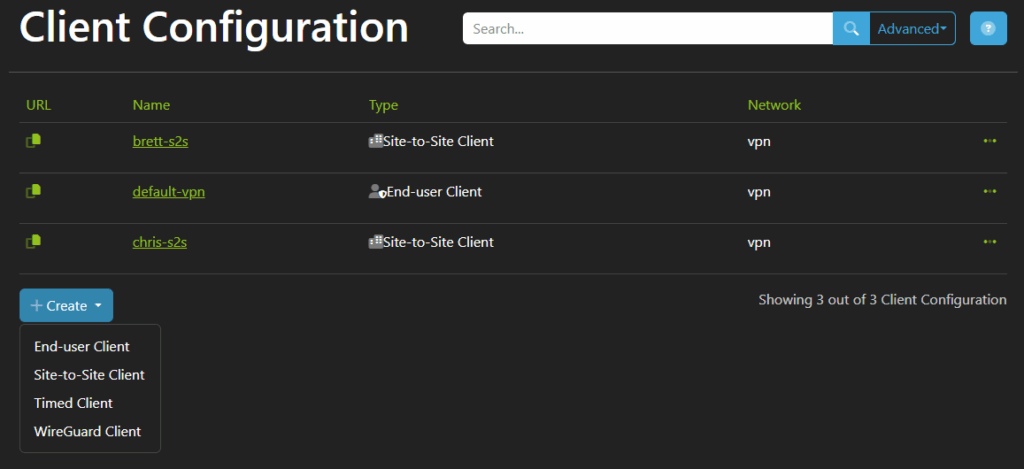
There are 4 different Client Configuration types.
End-user Client
This is the default client type, which is used by standard end users with the Nodal VPN client. An end-user client will prompt for authentication on every connection and supports Two Factor authentication.Site-to-Site Client
This is an advanced client, designed for use with the command-line Nodal VPN client and can be used for connecting multiple remote sites together.Timed Client
This is a special end-user client, which only needs authentication for a period of time, either for a set duration or up to a specific time of day. A user with this client type can disconnect and reconnect as many times as they want in that time without being prompted for further authenticationWireGuard Client
This client type allows a user to generate a configuration file that can be used with the native WireGuard clients. This cannot be used for Two Factor Authentication.
For this article, we will review the default end-user configuration. Click the link for the client, or click the options button, then Edit.
2. Routes
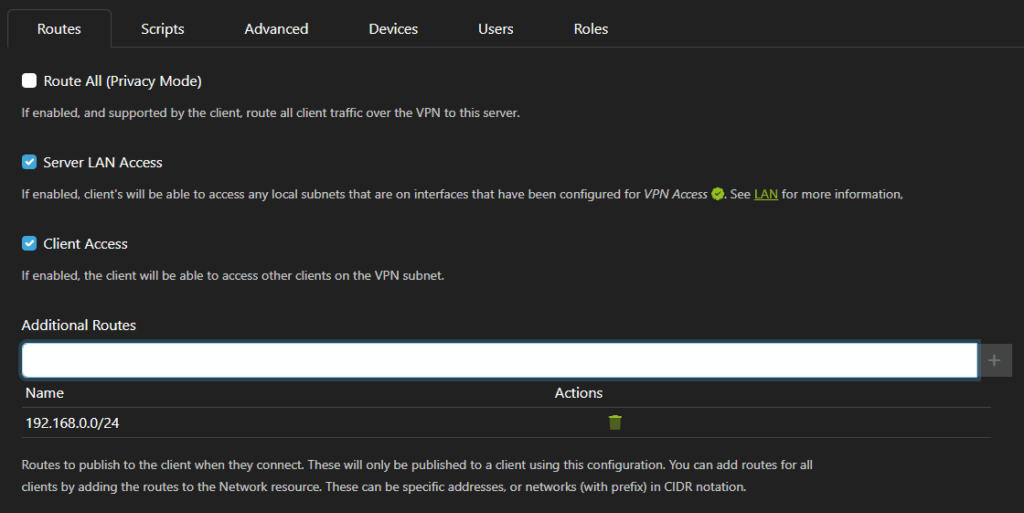
The first tab defines what routes are published to the client.
Route All
This will route all internet traffic through your VPN connectionServer LAN Access
This option publishes the same corporate subnet that your nodal agent is installed in (default: on)Client Access
If enable (default: on), this option allows clients to access each otherAdditional Routes
If you need add any extra routes, add them in this section and press enter or click + to add them to the list.
As an example, if you wish to only grant clients access to a single internal IP, turn off Server LAN access and add in the target IP as an Additional Route.
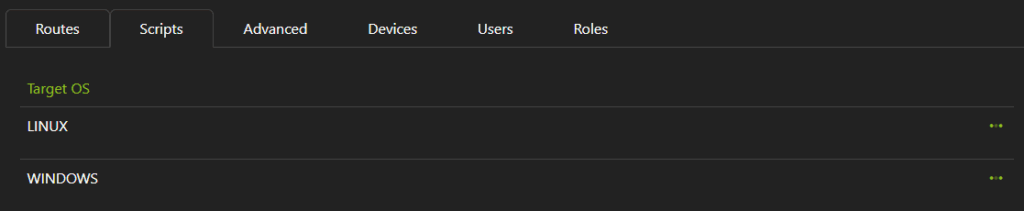
3. Scripts
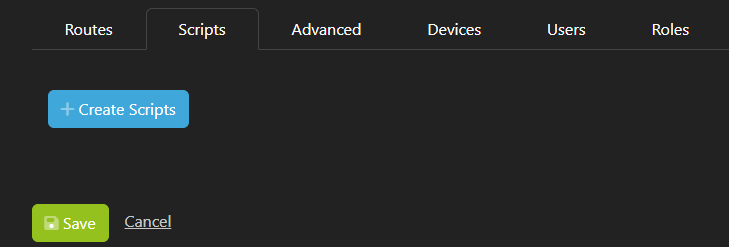
It is possible to define scripts for any OS which can be run either before the connection is up, or after the connection is established, as well as before the connection goes down, or after the connection goes down. Click Create Scripts to create a new script entry.
On the Create page, select the Target OS (Windows, Linux, OSX, Android, IOS or Other, then select either the Up Scripts or Down Scripts tab.
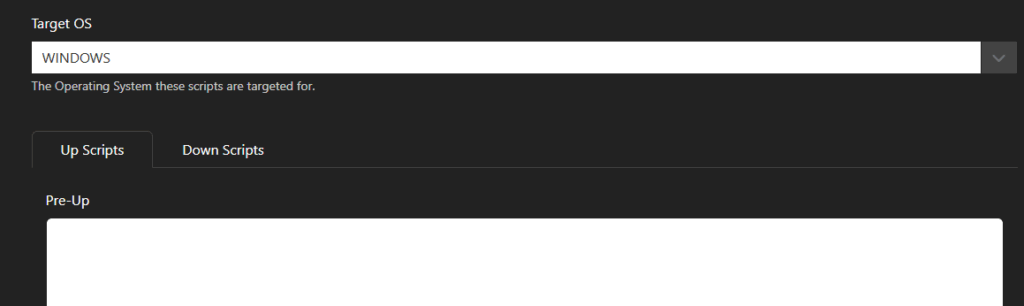
The contents of this script can be anything written in a scripting language that can be read by the target OS. An example pre-up script might be checking for something specific on the client before allowing a connection (i.e is it on my domain?).
Multiple scripts can be defined, which appear in the Scripts list.
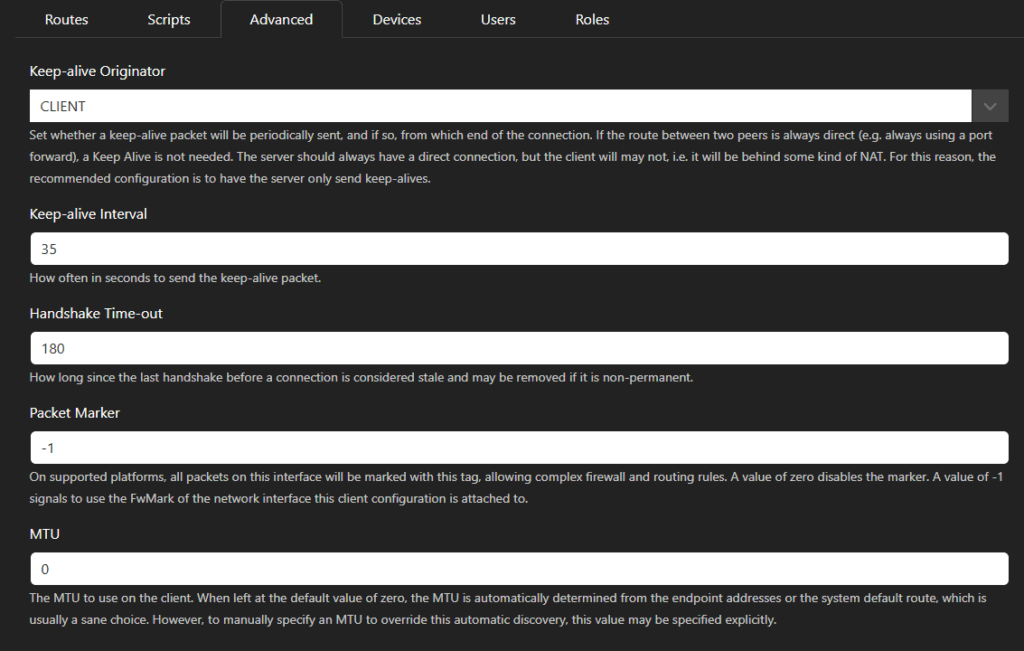
4. Advanced
In the advanced tab, some settings related to the connection can be altered. It is recommended to leave these as the defaults in most cases.
Keep-alive Originator
Because UDP is stateless, we need to send keepalive packets, otherwise the connection will be closed. It is recommended to keep the default as CLIENT, but this can be set to NONE, CLIENT, SERVER, BOTH.Keep-alive Interval
How many seconds between each keep-alive packet. The default of 35 seconds is reasonable here.Handshake Time-out
How long to wait before a connection is considered closed. This is most useful for client disconnects so that the server knows the client has disappeared. With the default of 180 seconds a client connection will be removed after 180+around 60 seconds.Packet Marker
For future expansion, when fwmark firewall tagging will be introduced.MTU
The default of 0 will choose a standard MTU of 1500 minus 80 for the VPN overhead (1420). Only consider changing this if connection speeds are very poor.
5. Devices
There is just one setting in this tab, where you can define the maximum number of concurrently connected devices that each user can have.
A default value of 0 means this limit is the maximum that your purchased license supports.

6. Users
In this tab, you may assign this configuration to specific users. To add a user, type in the username and press enter to add them to the list.
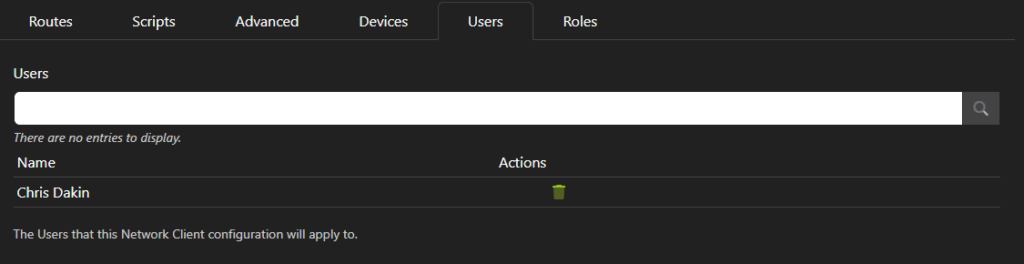
Note: you may prefer to considuer assignment by using the next tab instead, Roles.
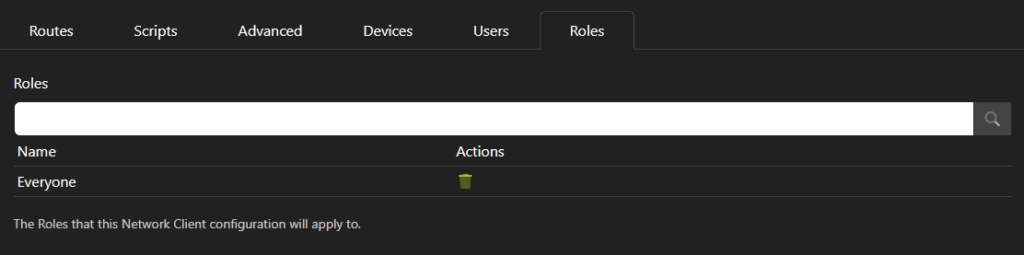
7. Roles
Roles are a container in Nodal VPN, which act as groups do in AD. For the purpose of client configurations, multiple users can be assigned to a role. Roles can be found at Security->Roles.
There are some built-in Roles, by default your new client configuration is attached to the Everyone role, which automatically includes all users.
As before, you can type in the name of a role and press enter to add it to the list.
Once you are happy with your Configuration, click Save to store any changes.