Documentation
FileDrop
Installing FileDropNodal VPN
Getting Started with Nodal VPNSigning up for Nodal VPN
Deploying Nodal Agent on Proxmox
Deploying Nodal Agent on VMware ESXi
Deploying Nodal Agent on Hyper-V
Creating a VPN Network
Nodal VPN Client Configuration
Installing the Windows VPN client
Connecting the Nodal VPN Client
Setting a static IP on the Nodal Agent
Password Express
Getting Started with Password ExpressSigning up for Password Express
Installing Windows Connect
Performing a Password Reset
Configuring Authentication Policies for Password Reset
Enrolling a User
Secure File Exchange
Installing on WindowsInstalling on Linux
Installing an SSL Certificate
Uninstalling (All Platforms)
Virtual File System
Browsing Files
Sharing Files
Upload Forms
Incoming Files
Sharing Shortcodes
File Systems
Mounting External FilesLocal Files
Plan Storage
SFTP Folders
Windows Shares
S3 Buckets
Goggle Cloud Storage
Azure Containers
Installing the Windows VPN client
This article will guide you through downloading and installing the Nodal VPN Windows client.
1. Downloading client
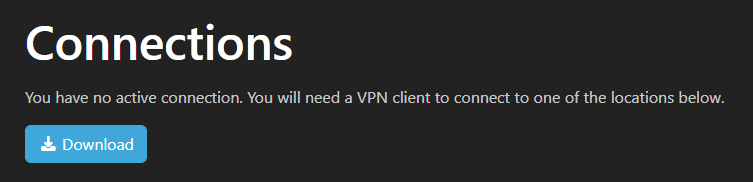
Log into the Nodal VPN web UI with any account, this could either be your admin account, or an end user. We will show the UI from an end-users perspective.
Once logged on, the user should see a Download button in the Connections section.
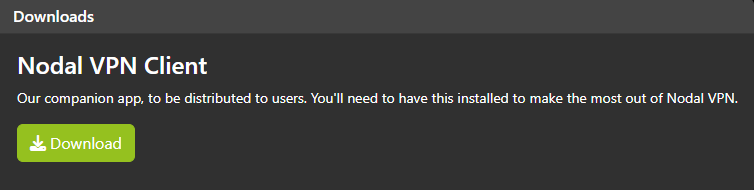
Alternatively, you can click the Download link at the top right.

A menu appears showing a Download link. Click Download.
The download page should detect the OS you are connecting from. If this is correct, click Download.
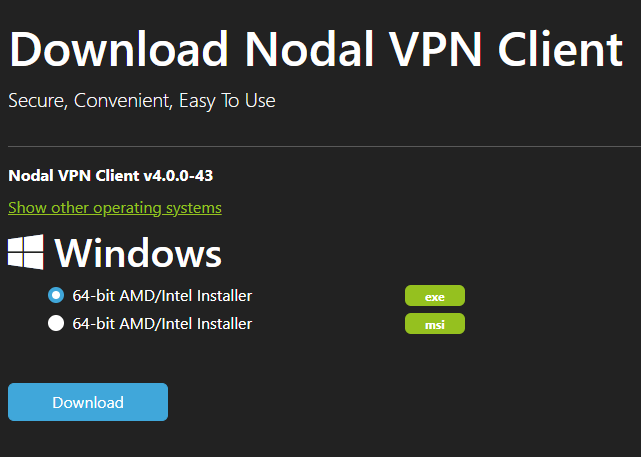
If you need a download for another OS, click Show other operating systems and download the installer you need.
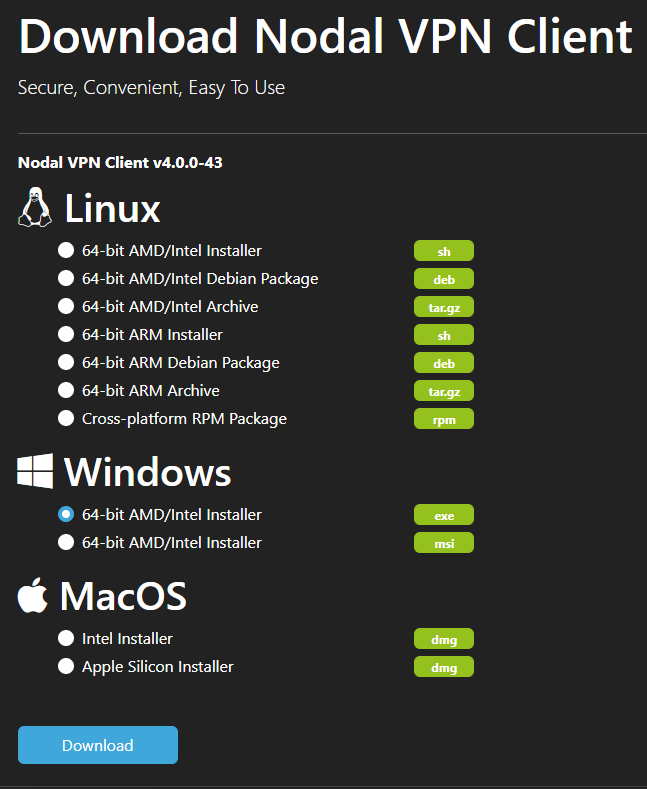
As we are looking to install the Windows client here, download the Windows version.
2. Installing the client
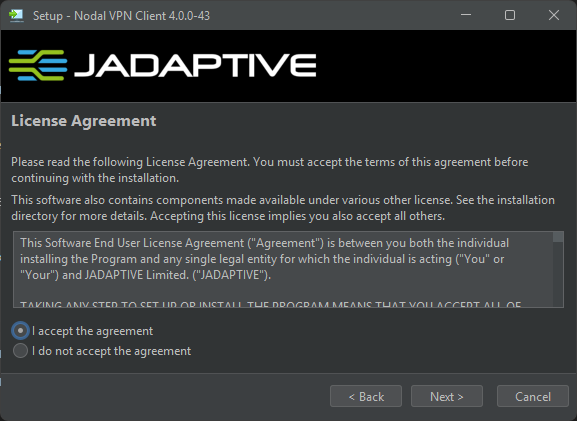
Run the executable, then click Next to begin the install.

Accept the license agreement and click Next.
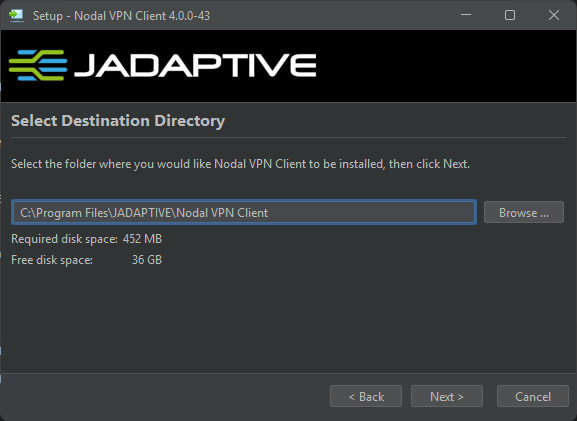
Select the default install location or choose a different one, click Next again.
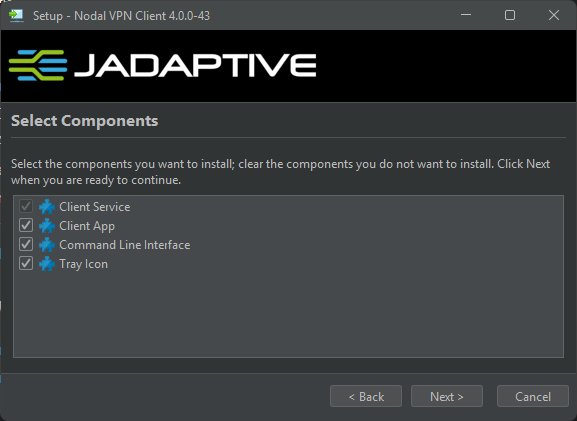
Accept the default list of components and click Next.
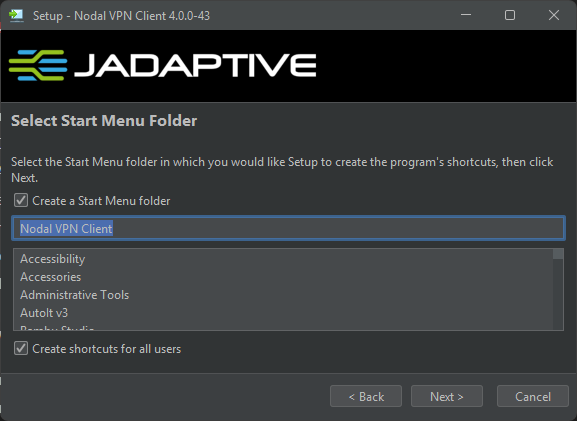
Accept the defaults for the start menu and click Next.
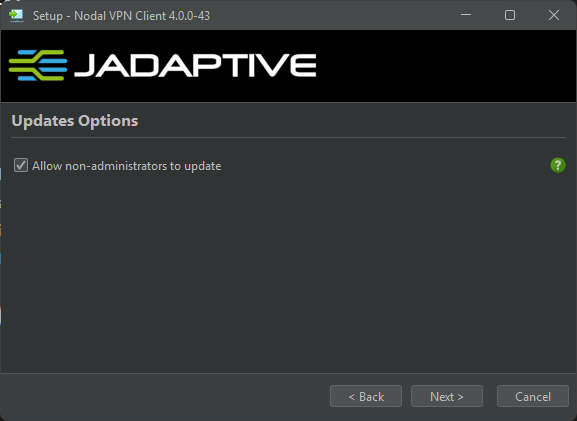
If you would like to give your users the ability to update the client, accept the default. If you prefer to upgrade this only with an admin account, deselect the option to allow non-administrators to update. Click Next.
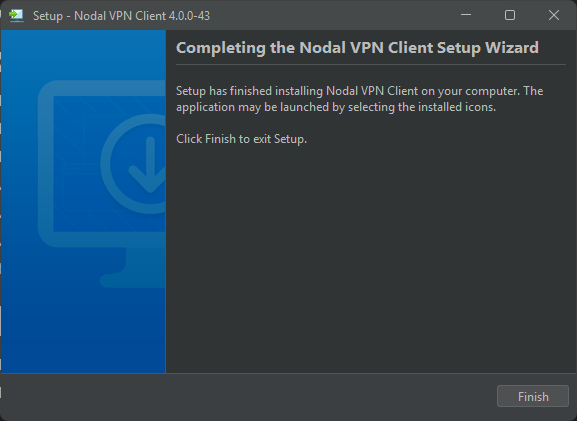
The installer now copies files. When complete, click Finish.