Documentation
FileDrop
Installing FileDropNodal VPN
Getting Started with Nodal VPNSigning up for Nodal VPN
Deploying Nodal Agent on Proxmox
Deploying Nodal Agent on VMware ESXi
Deploying Nodal Agent on Hyper-V
Creating a VPN Network
Nodal VPN Client Configuration
Installing the Windows VPN client
Connecting the Nodal VPN Client
Setting a static IP on the Nodal Agent
Password Express
Getting Started with Password ExpressSigning up for Password Express
Installing Windows Connect
Performing a Password Reset
Configuring Authentication Policies for Password Reset
Enrolling a User
Secure File Exchange
Installing on WindowsInstalling on Linux
Installing an SSL Certificate
Uninstalling (All Platforms)
Virtual File System
Browsing Files
Sharing Files
Upload Forms
Incoming Files
Sharing Shortcodes
File Systems
Mounting External FilesLocal Files
Plan Storage
SFTP Folders
Windows Shares
S3 Buckets
Goggle Cloud Storage
Azure Containers
Installing Windows Connect
Windows Connect is an application through which Jadaptive services, such as Password Express and the Jadaptive VPN can communicate with your Active Directory quickly and securely.
Windows Connect performs user interactions using PowerShell and only needs to be installed on a domain connected machine. It does not have to be installed on your Domain Controller, but will work equally as well if it is.
The requirements for Windows Connect to work are:
- Powershell with the Active Directory module must be installed on the Domain connected Computer.
- The client must be able to communicate outbound to your on TCP/2222. This is a secure reverse SSH connection by which the client enables communication with your AD.
1. Installation
Log in to your Password Express tenant, or Jadaptive VPN server with your admin account.
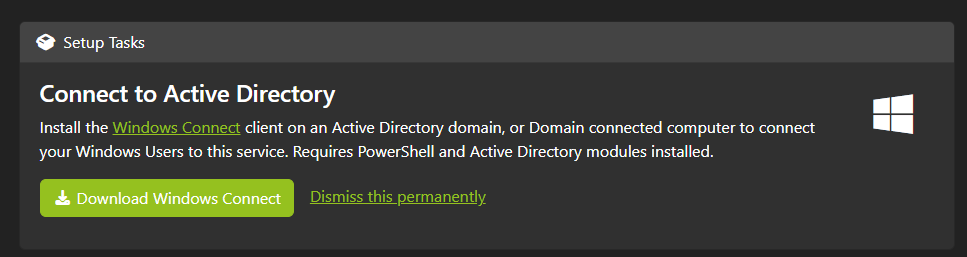
You may see a pending Setup Task on your dashboard, if so you can click Download Windows Connect from here.
Alternatively, select the Security Menu, then Windows Domain.
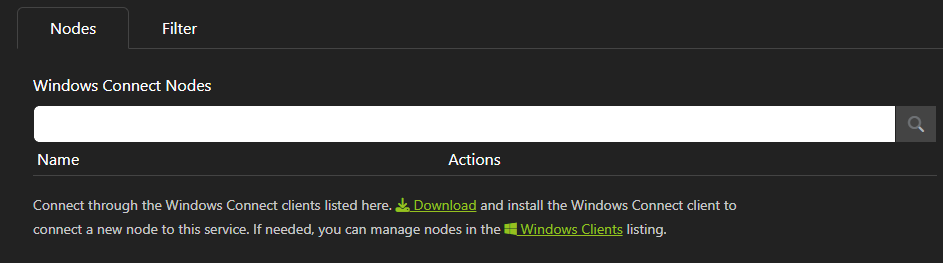
As we have not configured anything yet, this list will be blank. Click the Download link to download the installer.
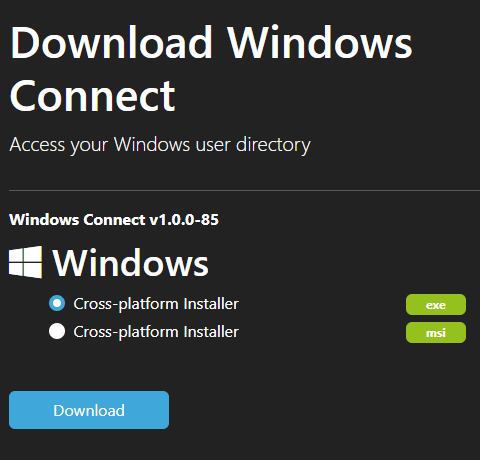
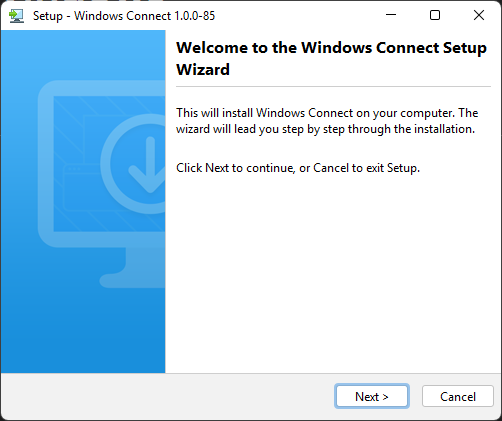
On the system you want to install Windows Connect, run the installer.
Click Next.
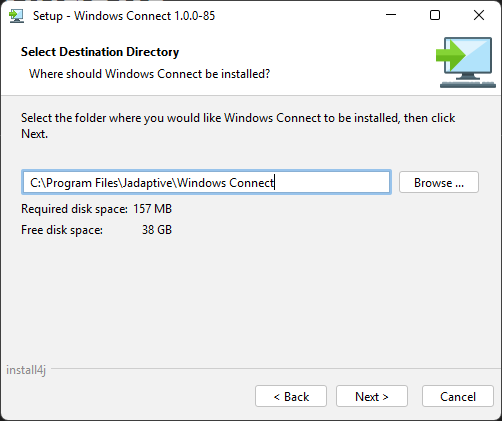
Alter the install location if you prefer, or leave it as the default. Click Next.
The installer should copy files and check for the required Powershell and AD modules and will prompt you to add them if they are missing.

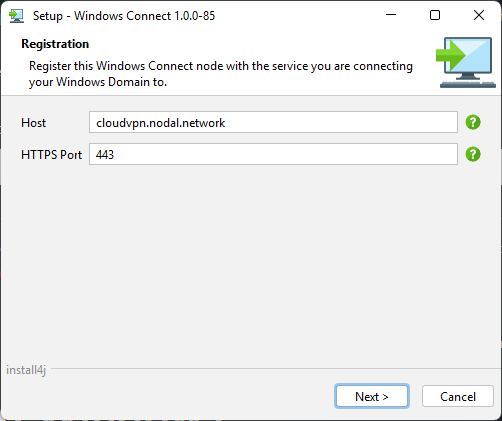
Enter the hostname of your Password Express tenant, or Jadaptive VPN server, assuming you have not changed this, keep the port as the default 443.
Click Next.
The installer will now initiate an authorization with your tenant.
2. Configuring Windows Connect
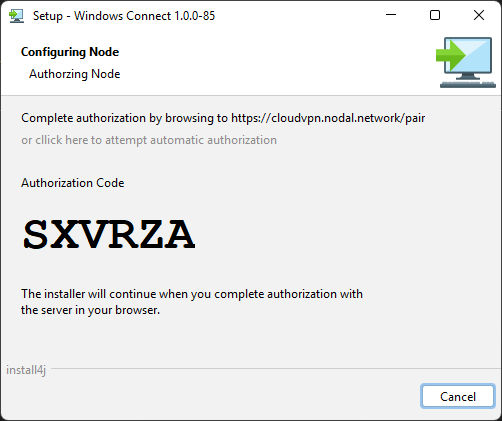
The installer will now need to pair with your Password Express tenant, or Jadaptive VPN server and will now display a URL and an authorisation code. The installer will attempt to automatically open your web browser and connect to the displayed URL, but if it doesn’t, go this URL manually.
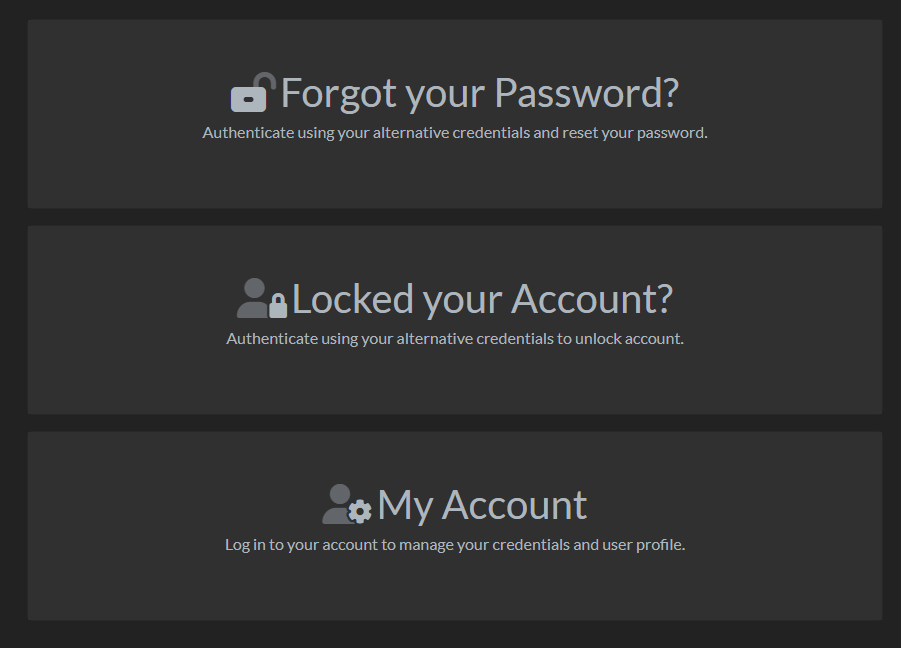
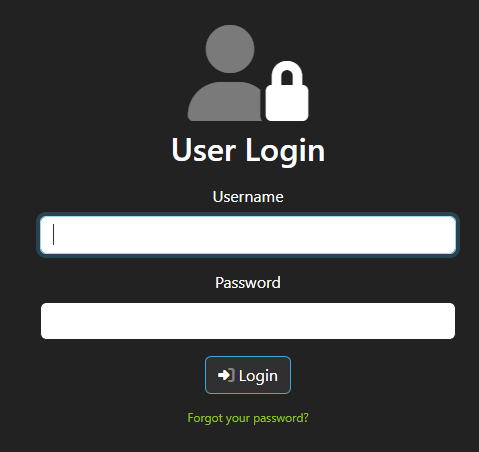
In the browser, click on My Account. Skip to the next step if this is a VPN tenant.
Log in with your admin credentials.
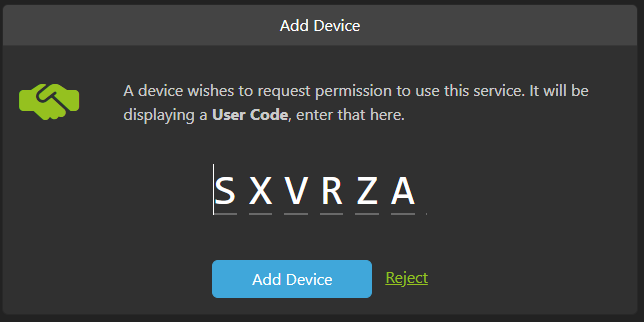
If the browser automatically launched, the authorization code should be automatically filled in (if not, type this code in as displayed in the installer).
Click Add Device.
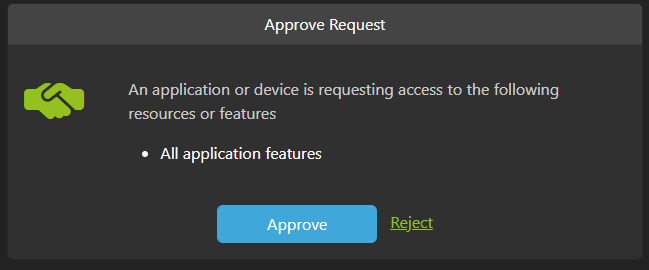
Click Approve to grant access to the Windows Connect application.
Click Finish on the installer.
Windows Connect is now configured and you can continue setting up your tenant.
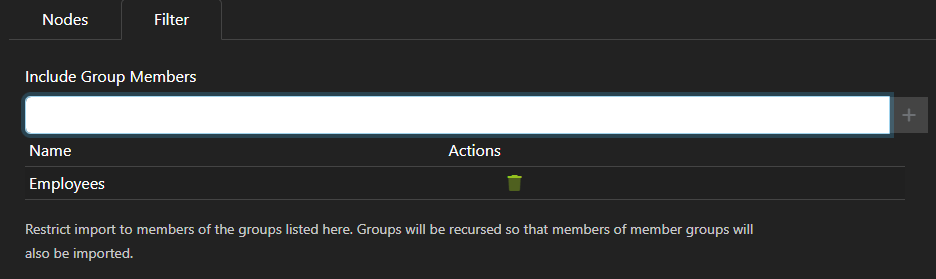
3. Review Config and Filter by Group
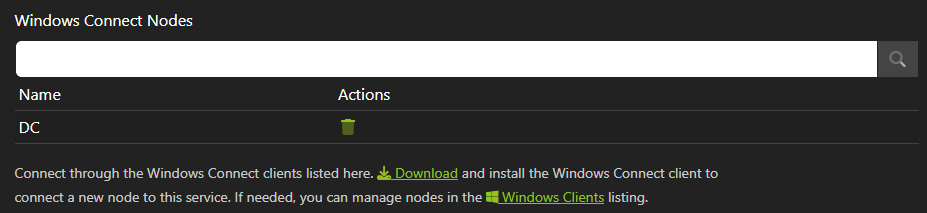
In Security->Windows Domain, you will now see your configured Windows Connect node, which should have the same name as the hostname of the server you installed it on.
In the Filter tab, you can choose to restrict user access to specific user groups.
Type in the Group name(s) that you wish to restrict access to, click + or press enter to add the group to a list and click Save.
From the Nodes page, if you click on the Windows Clients link you will be able to see the connection state of the Windows Connect node.
Here for example, we can see the status is green, so the node is connected.

4. User Synchronization
It is worth mentioning here how Windows Connect synchronizes users and how this differs from previous products.
At this stage, if you navigate to Security->Users, you will see that only your admin account is showing.
This is because Windows Connect only synchronizes a user at the point of them authenticating with the tenant for the first time.
Our previous products synchronized on a schedule, but this is not done with Connect as it will only sync users when it needs them.
Therefore you will see this Users page populate as your users start to interact with the system.