Documentation
FileDrop
Installing FileDropNodal VPN
Getting Started with Nodal VPNSigning up for Nodal VPN
Deploying Nodal Agent on Proxmox
Deploying Nodal Agent on VMware ESXi
Deploying Nodal Agent on Hyper-V
Creating a VPN Network
Nodal VPN Client Configuration
Installing the Windows VPN client
Connecting the Nodal VPN Client
Setting a static IP on the Nodal Agent
Password Express
Getting Started with Password ExpressSigning up for Password Express
Installing Windows Connect
Performing a Password Reset
Configuring Authentication Policies for Password Reset
Enrolling a User
Secure File Exchange
Installing on WindowsInstalling on Linux
Installing an SSL Certificate
Uninstalling (All Platforms)
Virtual File System
Browsing Files
Sharing Files
Upload Forms
Incoming Files
Sharing Shortcodes
File Systems
Mounting External FilesLocal Files
Plan Storage
SFTP Folders
Windows Shares
S3 Buckets
Goggle Cloud Storage
Azure Containers
Creating Roles
Roles can be used to create groups of users to make it easier to assign resources to multiple users. Navigate to Security->Roles.
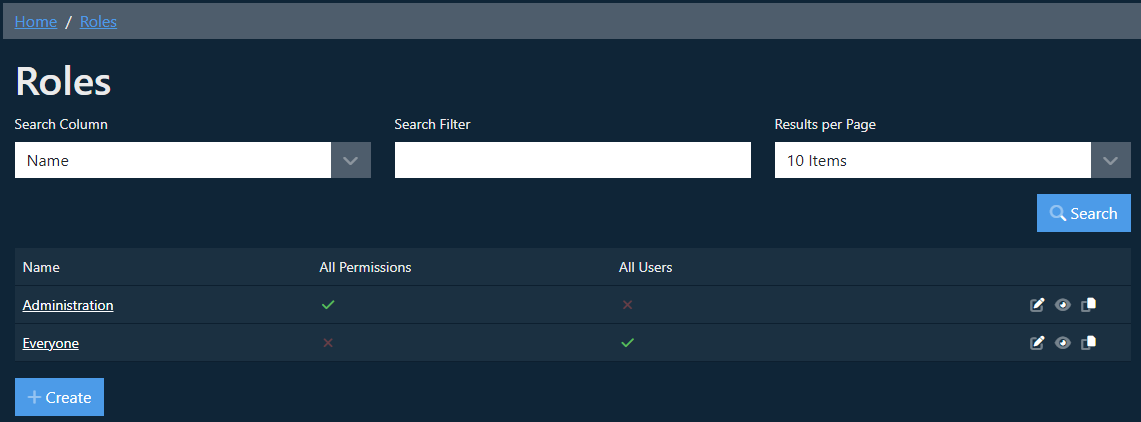
Select the Create option.
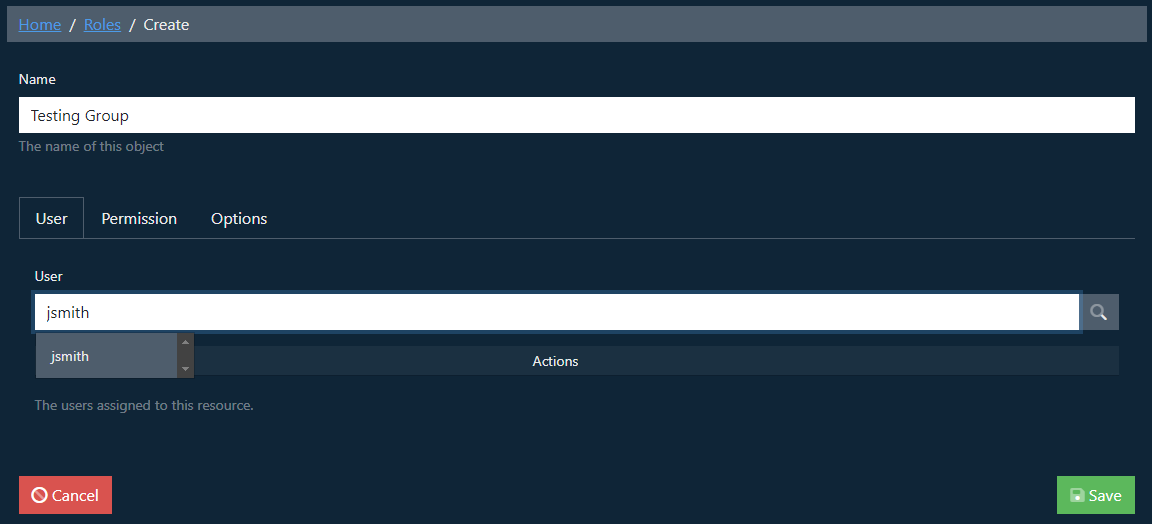
Set a name for the role, the first tab displayed will then allow you to assign users, the entry here allows for auto filtering of the users based on the content entered and you can then select the users to be added to the role.
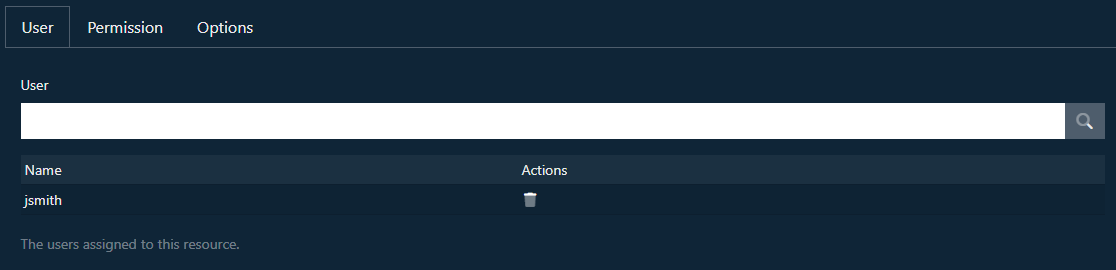
Once added the user is displayed in the list.
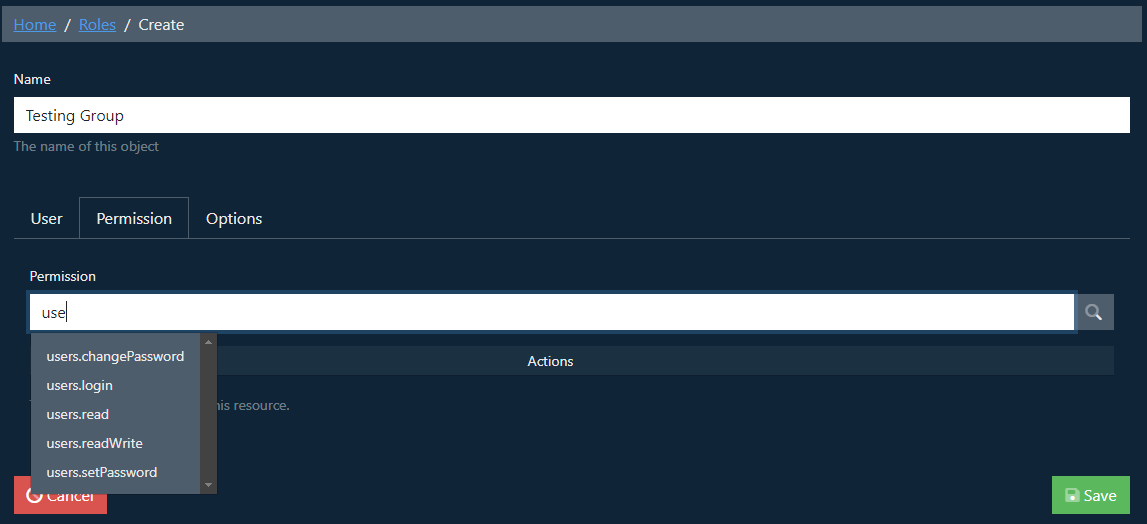
The Permission tab allows assignment of the various permissions that you wish the users in this role to have.
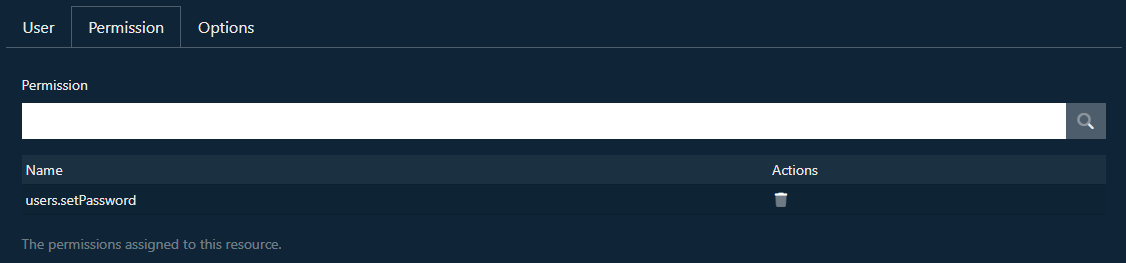
Once selected the permission is added to the table
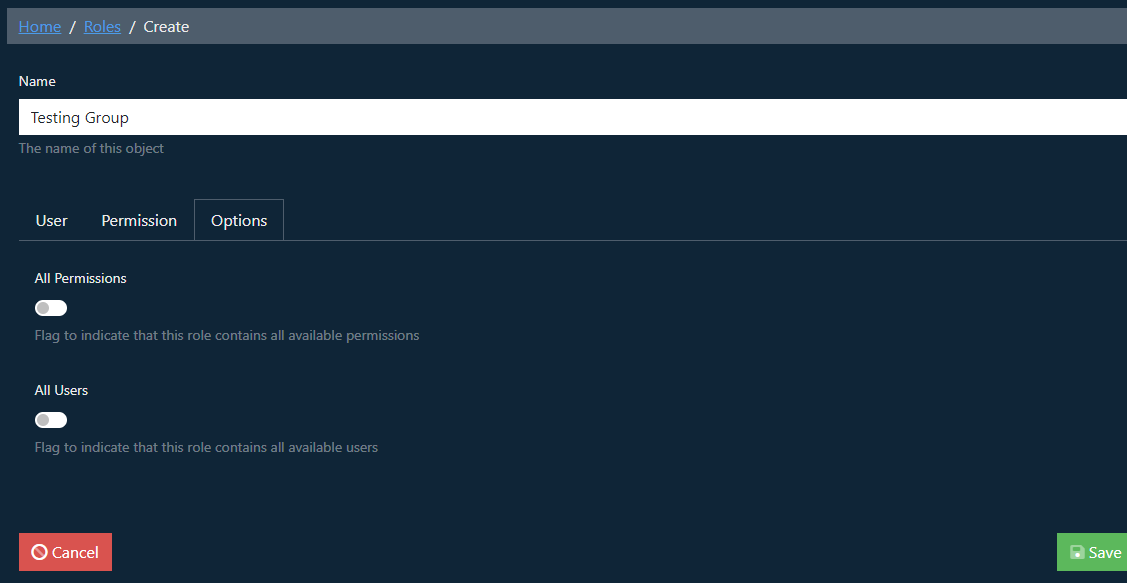
The Options tab provides two extra options that can save some time configuring if they are needed. All Permissions add all of the permissions, and All Users add all user accounts.
Select the Save option.

The new permission is added to the table.