Documentation
FileDrop
Installing FileDropNodal VPN
Getting Started with Nodal VPNSigning up for Nodal VPN
Deploying Nodal Agent on Proxmox
Deploying Nodal Agent on VMware ESXi
Deploying Nodal Agent on Hyper-V
Creating a VPN Network
Nodal VPN Client Configuration
Installing the Windows VPN client
Connecting the Nodal VPN Client
Setting a static IP on the Nodal Agent
Password Express
Getting Started with Password ExpressSigning up for Password Express
Installing Windows Connect
Performing a Password Reset
Configuring Authentication Policies for Password Reset
Enrolling a User
Secure File Exchange
Installing on WindowsInstalling on Linux
Installing an SSL Certificate
Uninstalling (All Platforms)
Virtual File System
Browsing Files
Sharing Files
Upload Forms
Incoming Files
Sharing Shortcodes
File Systems
Mounting External FilesLocal Files
Plan Storage
SFTP Folders
Windows Shares
S3 Buckets
Goggle Cloud Storage
Azure Containers
Installing on Windows
This article walks you through the installation of a JADAPTIVE server on the Windows platform.
1. Download
Download the server executable from our website. Once downloaded, double click on the installer executable to start.
When downloading a new release, you may experience a SmartScreen prompt, as seen below.
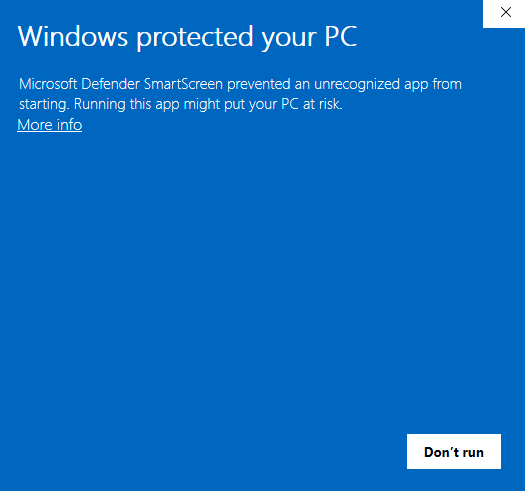
In the top left, you will notice a link, “More Info” click on this to see the detailed information.
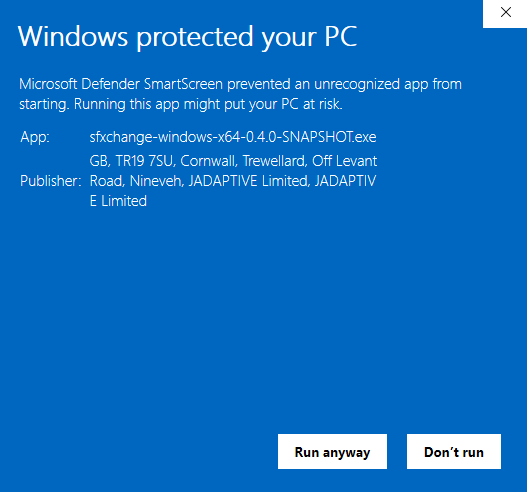
The warning is created because Windows needs to see a number of downloads of the product before it passes this validation after release. Check the executable publisher is “JADAPTIVE Limited”. This means it’s been signed by our certificate and is trustworthy. Click on the Run Anyway; by doing this, you are helping us generate a SmartScreen reputation that will eventually remove these prompts.
2. Installation
The installer will now run.
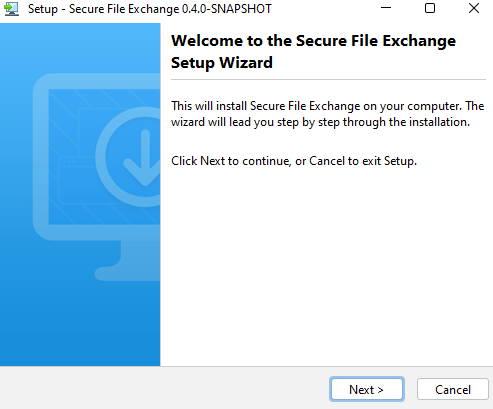
Click Next.
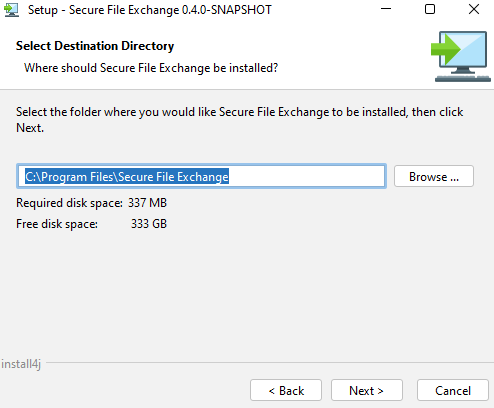
Select the installation directory, or accept the default and click Next.

Select which components should be installed from the Open Source and Enterprise plugins, both are selected by default, click Next to continue.
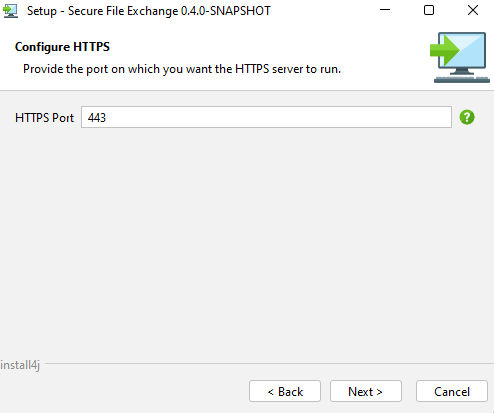
Accept the default HTTPS port for the webserver or change it to a more suitable value. Then click Next.
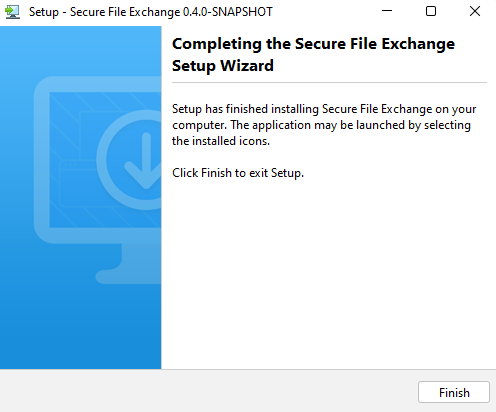
Congratulations, you have installed the server.
3. Setup
Now you have installed the server, you can proceed to the setup wizard section of the installation. Here you will run through a wizard on the products web server to configure it further. Open up your browser and enter the URL of your server, https://<server> and you should receive further prompts to complete the final elements of the server’s configuration.